Grandma Knows: How to Use Ice for Removing Wax
Learn how to use ice to remove dried wax from fabric, carpet, and furniture. Practical step-by-step guidance that actually works.

Candle wax has a way of ending up where it should not be. A dinner candle tips slightly and drips onto the tablecloth. A birthday candle leaves a smear across the carpet. A pillar candle sitting on a wooden shelf bleeds wax down the side and onto the fabric runner underneath. It happens in almost every home at some point, and the first instinct is usually the wrong one — reaching for a cloth and trying to wipe it up while it is still warm.
That instinct is understandable, but it almost always makes things worse. Warm wax spreads. It works its way deeper into the fibers of fabric or carpet, and what started as a small drip becomes a wide, greasy stain that is much harder to deal with. The real solution starts with the opposite of heat. It starts with cold.
Why Wax Behaves the Way It Does
To understand why cold works so well, it helps to understand what wax actually is and how it behaves on fabric and soft surfaces.
Candle wax is made mostly of long-chain hydrocarbons, meaning it is essentially a solid oil. When it is melted and warm, it is liquid and flows freely into whatever surface it touches — the gaps between carpet fibers, the weave of a tablecloth, the grain of an upholstered cushion. As it cools, it contracts slightly and hardens into a solid mass. At this point it is no longer flowing, but it is still bonded to the surface by the shape it took while it was liquid.
When you apply ice or another cold source, the wax cools even further and becomes more brittle. The contraction becomes more pronounced. The bond between the wax and the surface weakens slightly, and the wax loses its flexibility entirely. At this point it can be cracked and broken off in pieces rather than smeared or pushed deeper into the material.
This is the core principle behind the ice method: you are not dissolving the wax or lifting it chemically. You are changing its physical state so that it can be removed mechanically — cracked, flaked, and lifted away from the surface.
What You Will Need
The supplies are simple and already in most kitchens.
- A handful of ice cubes or a reusable gel ice pack
- A zip-lock bag or a thin plastic bag to hold the ice
- A dull butter knife, a spoon, or a firm plastic card
- A clean, dry cloth or paper towels
- Dish soap or a small amount of dry-cleaning solvent for the residue step
The plastic bag matters more than it might seem. Putting ice directly on fabric introduces water as the ice melts, and wet fibers can sometimes trap the waxy residue rather than releasing it. Keeping the ice in a bag lets you apply the cold without soaking the surface.
Removing Wax from Fabric and Clothing
Tablecloths, napkins, shirts, and cotton curtains are among the most common victims of candle wax. The good news is that most woven fabrics respond very well to the cold method, especially when it is done before any heat has been applied to the area.
Start by letting the wax harden completely on its own if it is still warm. Do not try to speed this along by putting ice on it immediately — let it cool to room temperature first, because pressing a bag of ice against warm wax can cause the outer layer to harden while the inside layer stays soft, making it harder to break clean.
Once the wax has cooled naturally, place your ice bag directly over the wax. Leave it there for five to ten minutes. You are looking for the wax to become noticeably cold to the touch — pale, hard, and slightly contracted from the fibers around it.
After that, use a dull butter knife, a spoon, or the edge of a sturdy plastic card to gently chip away at the wax. Work from the outer edges inward. The goal is not to scrape aggressively but to crack the wax and lift it away in small pieces. Most of the wax should come off cleanly at this stage.
There will almost always be a faint waxy residue left behind in the fibers even after the solid pieces are removed. This is the oil component of the wax. Apply a small drop of dish soap directly to the spot, work it gently into the fabric with your fingertip, and then wash the item according to its care label. For delicate fabrics, a dry-cleaning solvent applied with a clean cloth can lift the residue without the risk of water staining.
A Note on Colored Wax
Colored candles — reds, blues, deep purples — contain dye that can leave a separate stain even after the wax itself is removed. The cold method handles the wax, but the dye often needs a stain pretreatment product or a diluted solution of white vinegar and water. Always treat the dye stain after removing the wax, not before, because working on the stain while waxy residue is still present will push the dye deeper into the fibers.
Removing Wax from Carpet
Carpet is trickier than clothing for a simple reason: you cannot put it in the washing machine when you are done. Everything has to be lifted out of the fibers without the help of a full wash cycle, which means the initial removal has to be as thorough as possible.
Apply the ice bag to the wax patch and let it sit for at least ten minutes. Carpet fibers hold warmth longer than flat woven fabrics, so the wax sometimes takes more time to become fully brittle.
Once the wax is cold and hard, use a blunt butter knife to carefully break it apart and lift the pieces out. Work slowly and follow the direction of the carpet pile to avoid pulling or damaging the fibers. A stiff-bristled brush can help dislodge smaller crumbled pieces from between the fibers after the main bulk has been removed.
Vacuum the area before moving on to the residue step. Getting as much of the dry material out as possible first makes the next step more effective.
For the oily residue left in carpet, place a white paper towel or a plain brown paper bag over the spot and apply a warm iron briefly — just a few seconds at a time, using the lowest heat setting. The warmth softens the residue just enough that it transfers into the paper rather than staying in the carpet fibers. Move to a clean section of the paper after each pass. This is the one moment where warmth helps, but only after the solid wax has been fully removed by cold first.
If a faint mark remains after this, a small amount of rubbing alcohol on a clean white cloth, dabbed gently onto the spot, can lift the last traces of color or grease without harming most carpet fibers. Test in an inconspicuous area first if the carpet is a delicate material or has a bold color.
Removing Wax from Upholstered Furniture
Sofas, chairs, and upholstered headboards require a careful balance between the same techniques used for clothing and carpet. Most upholstery fabrics cannot be removed and washed, and many are sensitive to rubbing alcohol or strong solvents, so the initial cold removal step is especially important here.
Apply the ice bag and allow a full ten to fifteen minutes of contact before attempting to remove anything. Upholstered pieces tend to be thicker and more padded, so the cold takes longer to penetrate properly.
Use a plastic card rather than a knife for the removal step on upholstery. The softer scraping action is less likely to pull threads or leave marks on the fabric surface. Work gently and remove as much solid wax as possible.
For the residue, apply a very small amount of dish soap mixed with cold water using a clean white cloth, blotting rather than rubbing. Rubbing spreads the residue and can distort the weave of the fabric. Blot, lift, and repeat with a fresh section of cloth until the mark is gone. Allow the area to air dry fully before sitting on it.
Microfiber upholstery responds particularly well to the cold method because the tight fiber structure does not allow wax to penetrate deeply. Natural fabrics like linen or cotton may retain more residue and require a second round of treatment.
When the Ice Method Works Best
This method is most effective when the wax has already cooled naturally and has not been disturbed. Fresh wax that has hardened on its own, without being touched or smeared, responds very cleanly to cold. The solid mass breaks away in larger pieces, leaving less residue behind.
It also works well on smooth-weave fabrics and short-pile carpets, where the wax sits more on the surface than deep within the fibers.
The method is reliable for paraffin wax, which is what most standard household candles are made of. Beeswax and soy wax behave slightly differently — they tend to be softer and more adhesive — and may require a longer chilling time and a more patient removal process.
When the Ice Method Does Not Work as Well
Once wax has been rubbed, smeared, or pressed into the fibers — whether by accident or by someone attempting to clean it up while warm — the cold method becomes harder to apply effectively. There is no longer a clean solid mass to crack and lift. In these cases, the paper towel and warm iron technique often works better as a first step, followed by a solvent treatment for the remaining residue.
Very thick wax deposits, such as from a large pillar candle that has pooled significantly, may not chill completely from a standard ice bag. In these cases, longer contact time is needed, or the process can be done in stages — chilling and removing partially, then repeating.
The cold method is also less useful on hard surfaces like wood or stone, where the goal is not to break the wax out of fibers but to lift it from a flat surface. On wood, a plastic scraper used at a low angle after brief chilling works well, but the technique is more about careful scraping than about cold making the material brittle in the same way it does with fabric.
Practical Habits That Prevent the Problem
Most wax incidents are preventable with small habits. Placing a small dish or a candle coaster under tapered candles catches drips before they reach the tablecloth. Using a candle snuffer instead of blowing out candles prevents molten wax from spraying outward. Keeping candles away from drafts and ceiling fans reduces the uneven burning that leads to overflow drips on the sides.
When setting a table with candles, tucking a clean piece of wax paper under the candle holder creates a barrier between any drips and the tablecloth without being visible to guests. It is a small, invisible precaution that saves a lot of work later.
For households where candles are used regularly, keeping a small ice pack in the freezer that is specifically reserved for situations like this means the tool is always ready when it is needed. The window of opportunity for clean removal is always better the sooner the cold is applied after the wax has naturally hardened.
Related articles
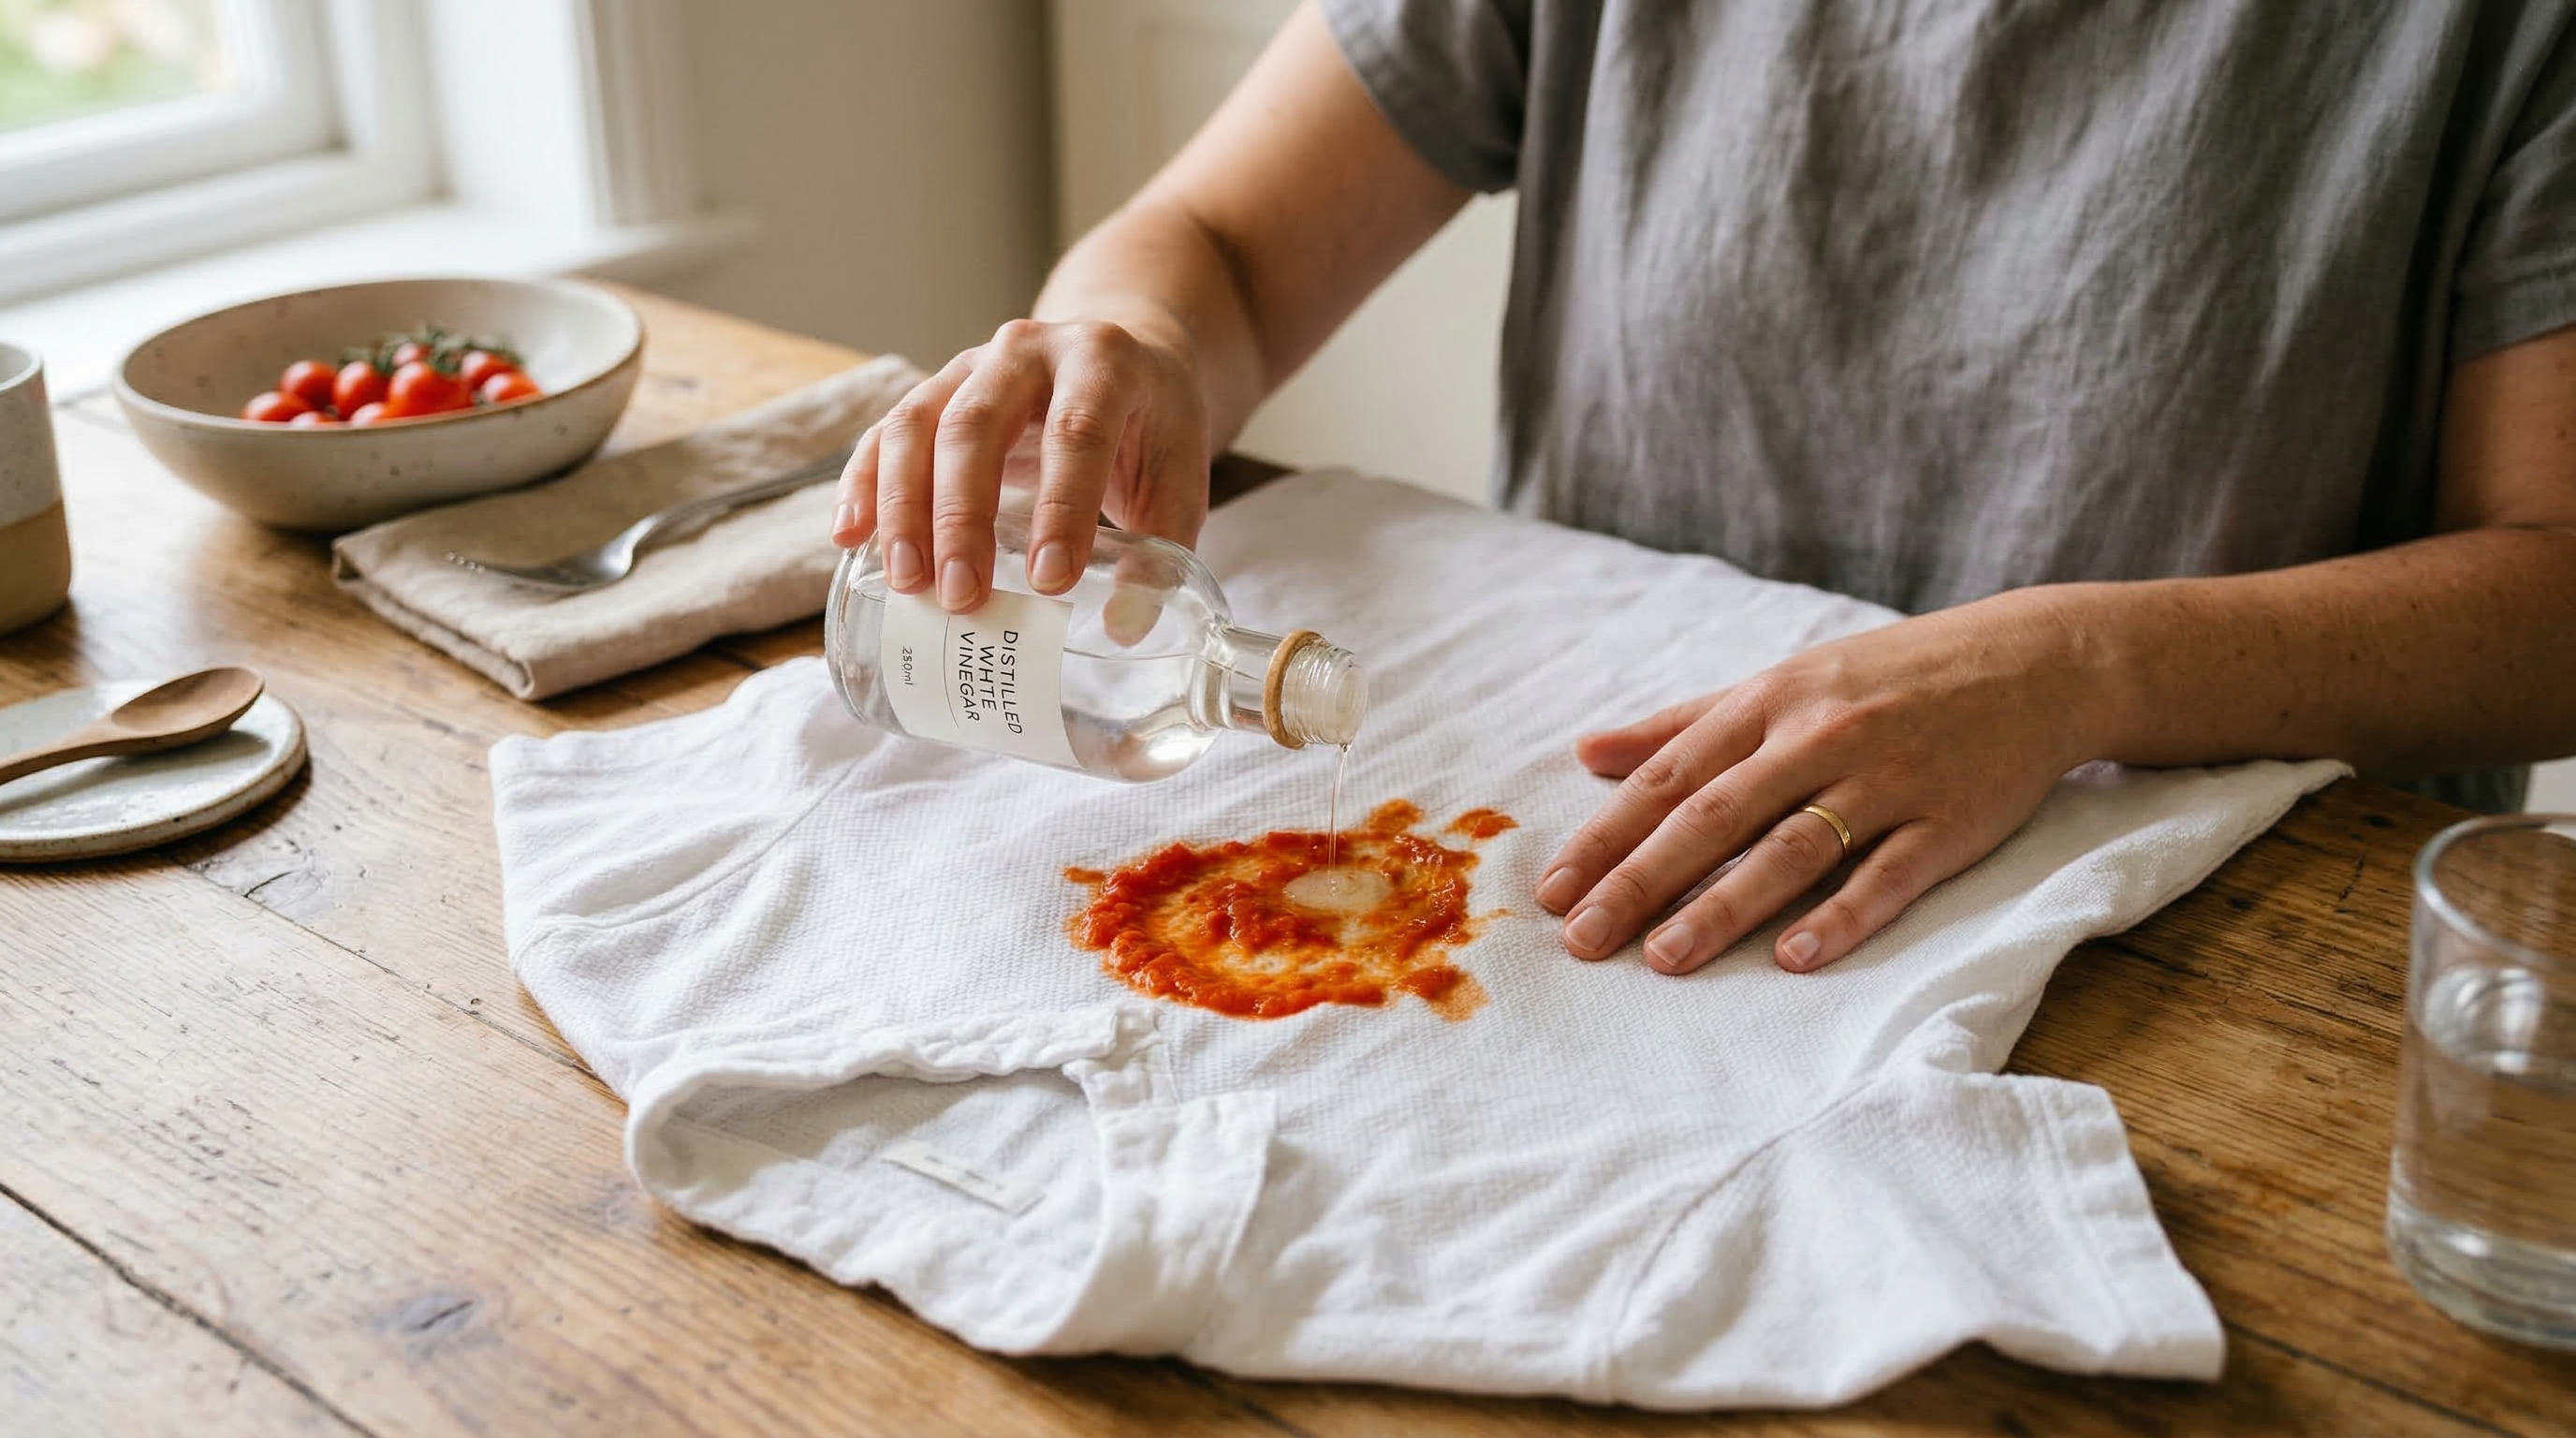
Grandma Knows: How to Remove Tomato Sauce from Clothing
Tomato sauce stains are vivid and quick to set. Learn the right sequence of treatments to remove tomato stains from clothing before they become permanent.
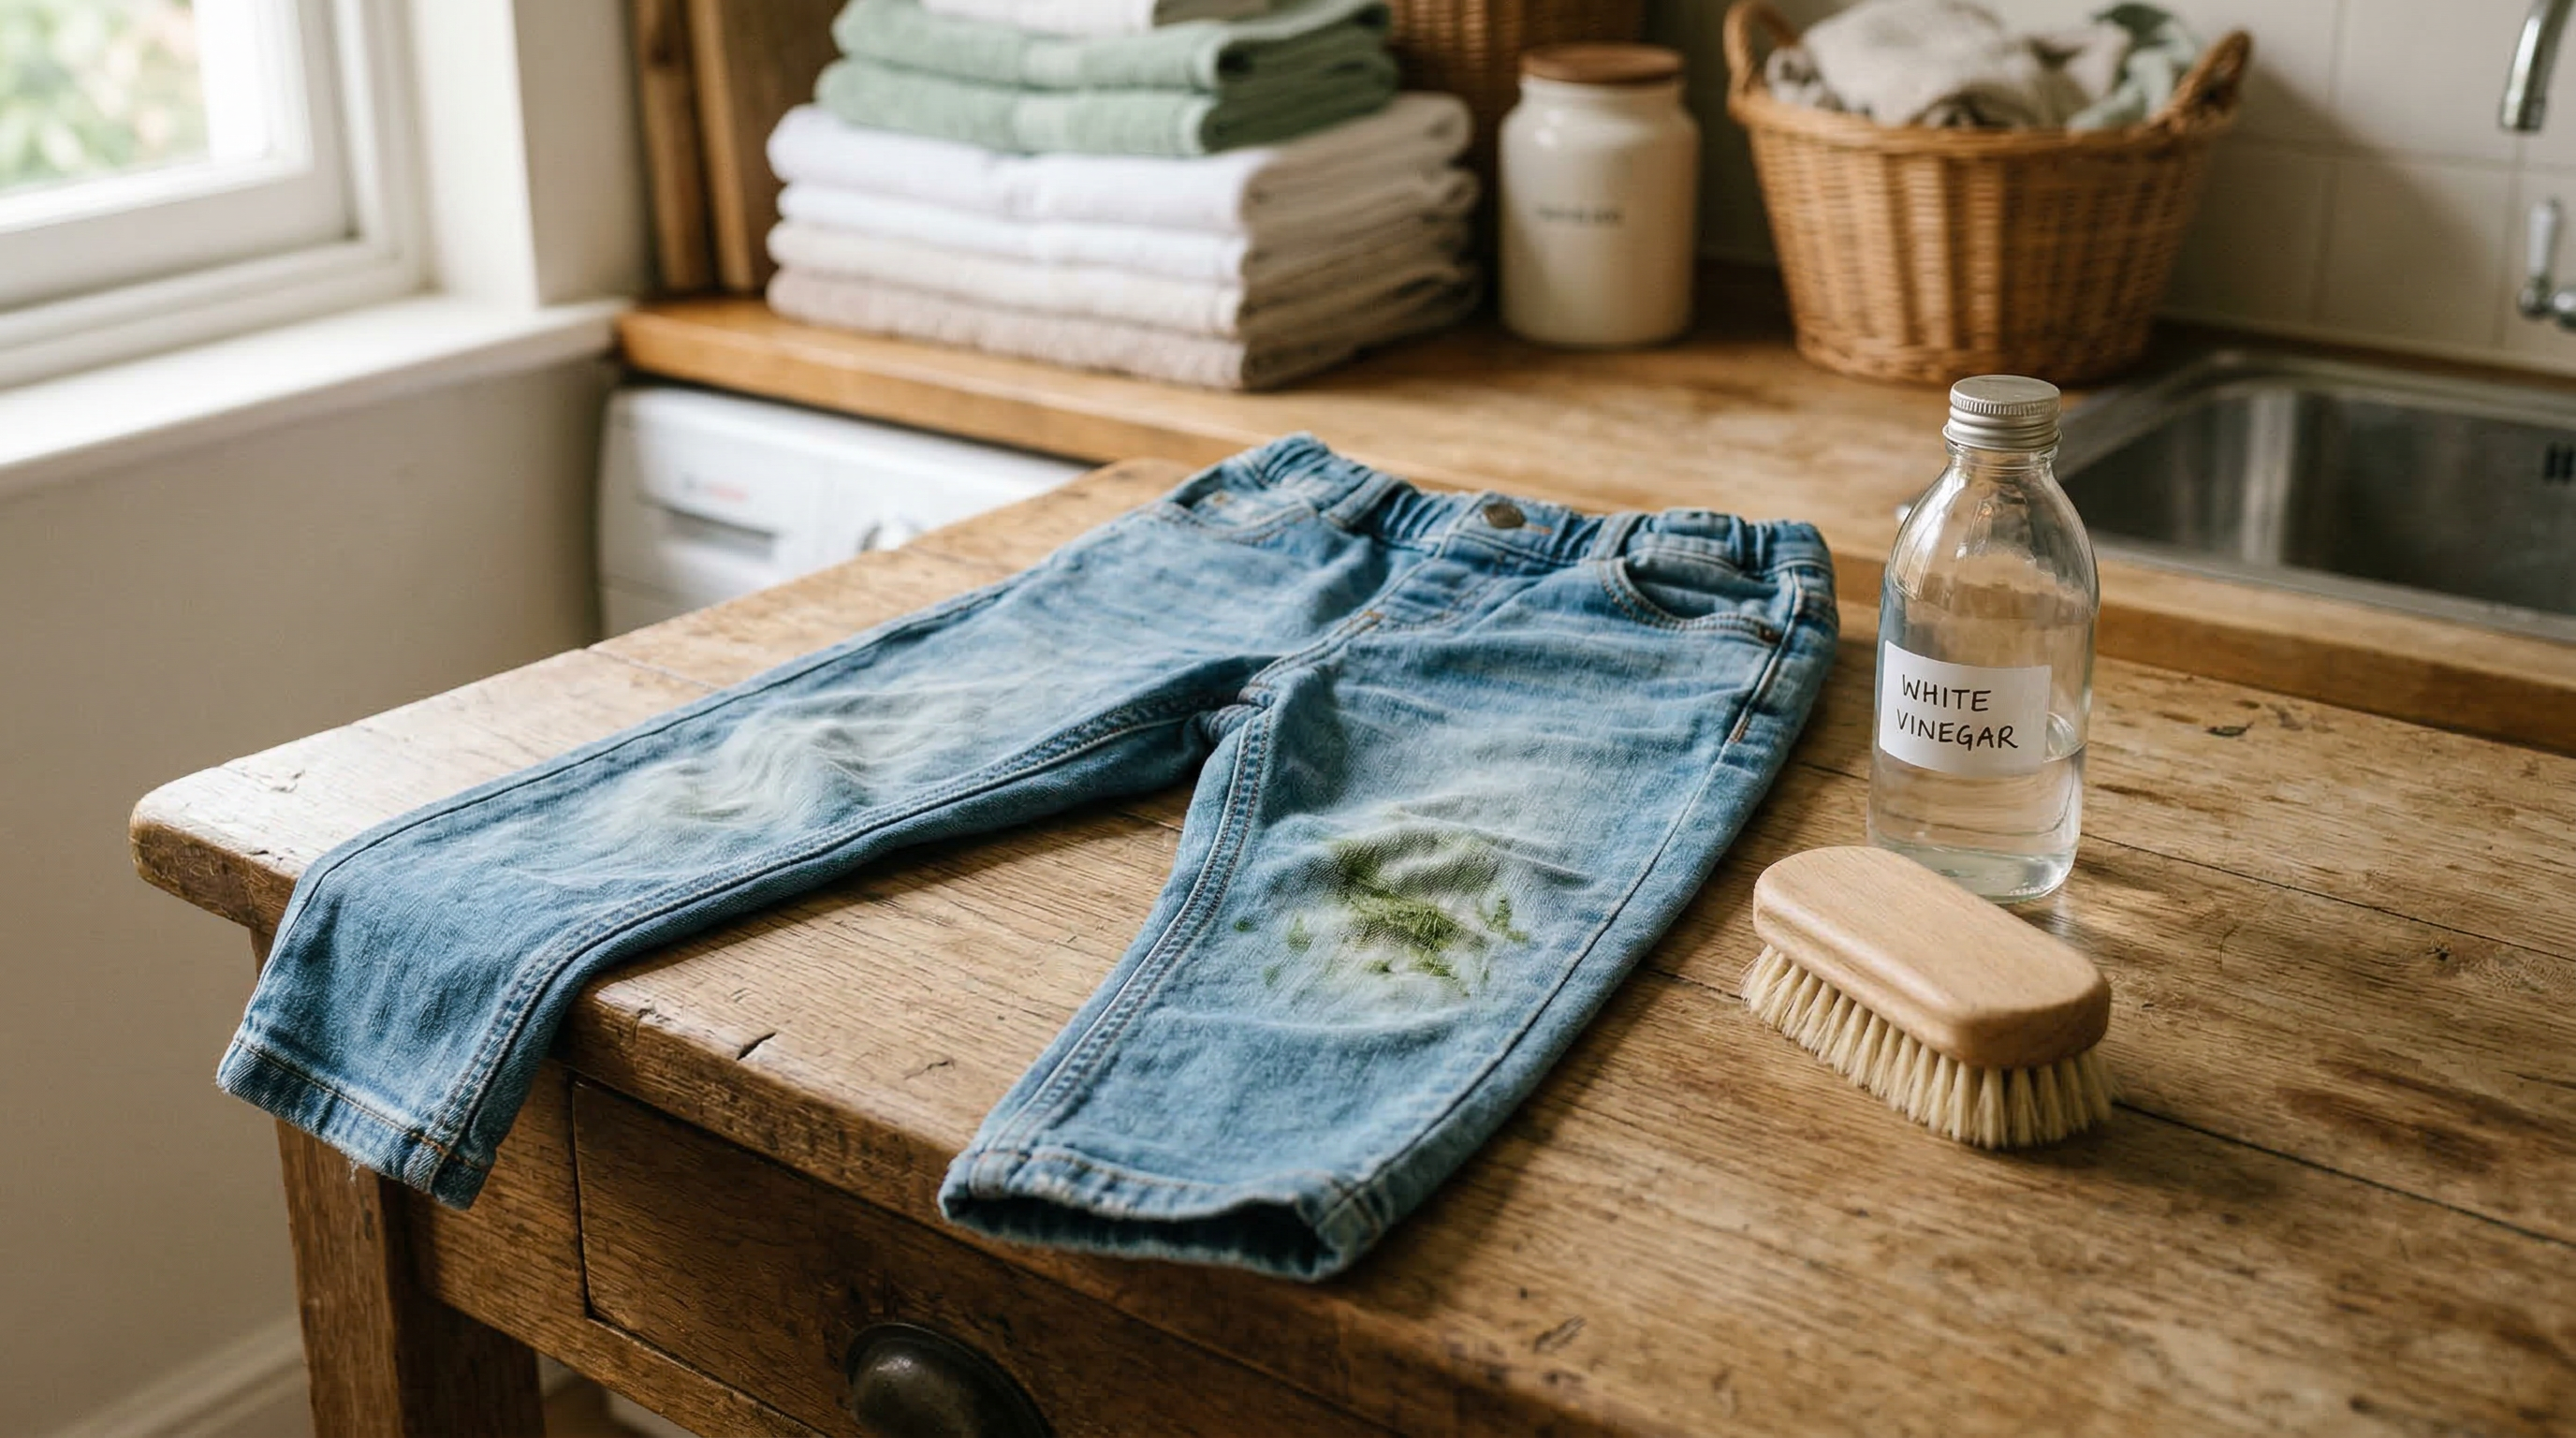
Grandma Knows: How to Remove Grass Stains from Clothes
Grass stains on clothes are stubborn but very treatable. Learn the household methods that break down chlorophyll and get fabric clean again.
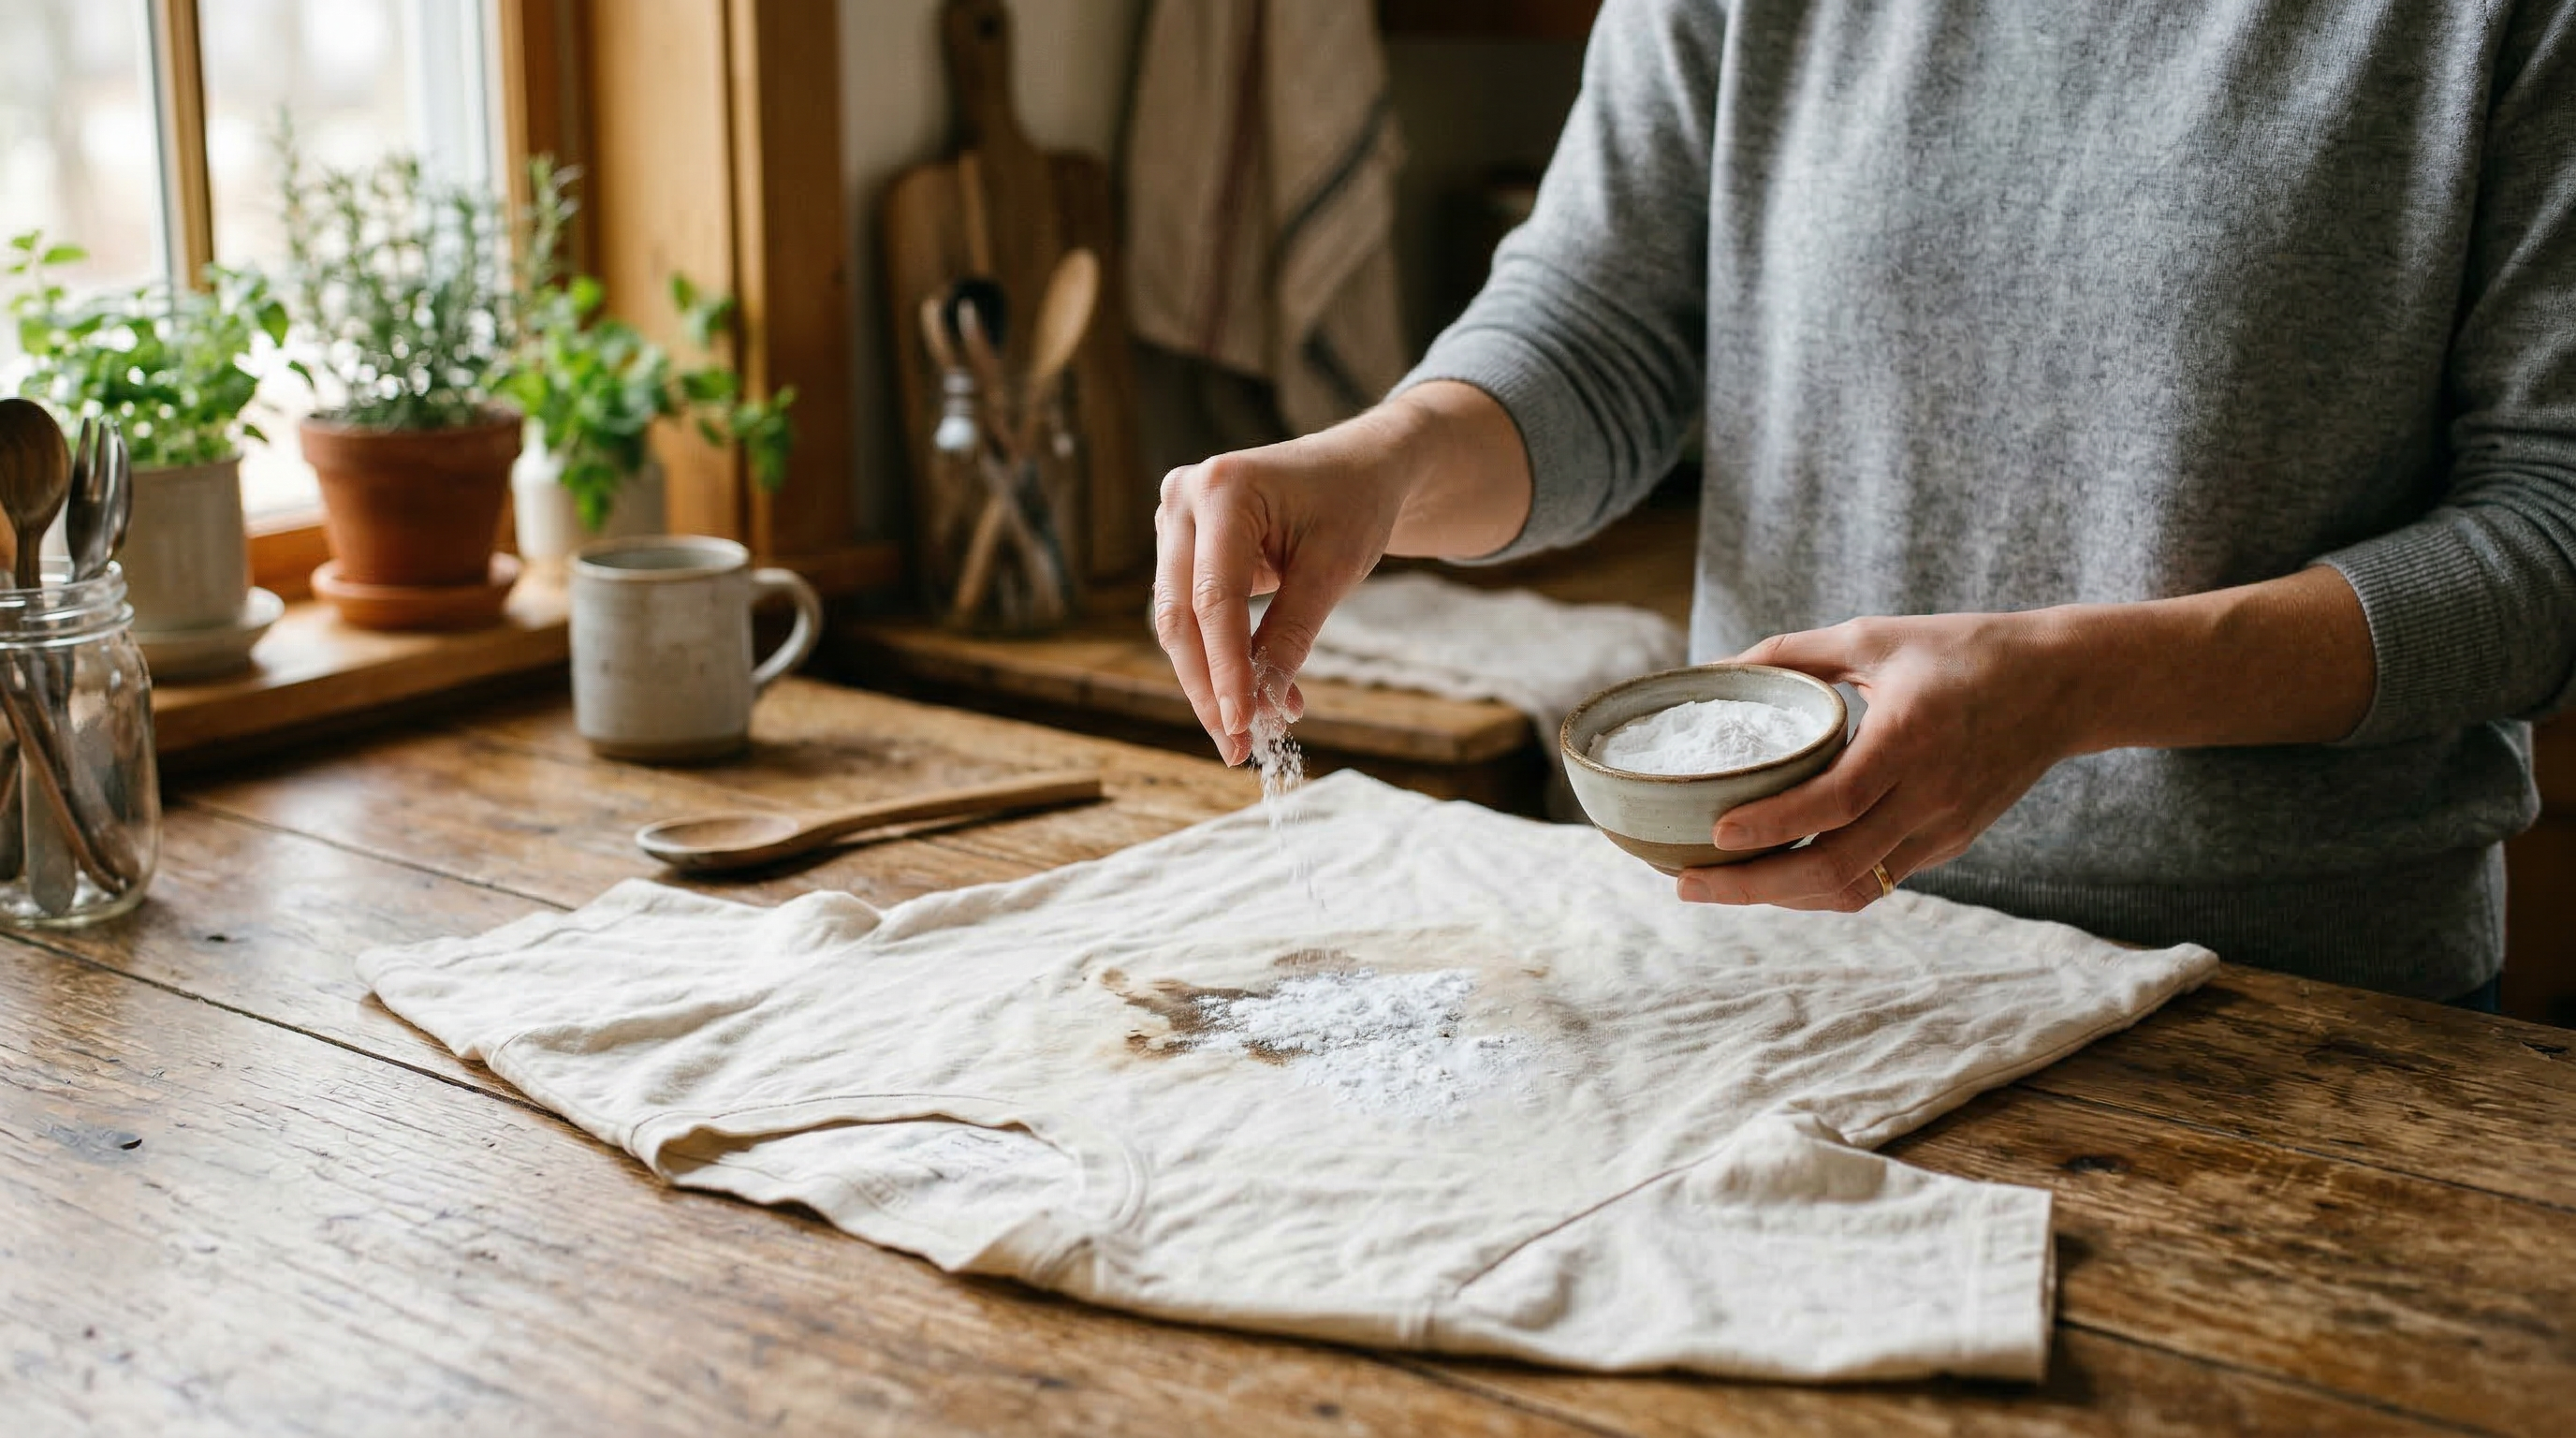
Grandma Knows: How to Remove Grease from Clothes
Grease stains on clothes are tricky but not impossible. Discover proven household methods using baking soda, dish soap, and patience.