Grandma Knows: How to Make Vinegar Cleaning Solution
Learn how to make a simple vinegar cleaning solution at home. Practical recipes and tips for surfaces, limescale, mold, and everyday household cleaning.

Most households already have a bottle of white vinegar somewhere in the kitchen. It gets used for salad dressings, pickling, and the occasional recipe that calls for a splash of acid. What many people forget — or never learned — is that the same bottle sitting in the pantry is also one of the most reliable cleaning agents you can use around the house.
Vinegar cleaning solutions have been used in homes for generations. Not because they were trendy, but because they worked. They cut through mineral deposits, dissolved soap scum, lifted light grease, and helped keep surfaces clean without leaving behind a chemical residue that needed rinsing away. The method is simple, inexpensive, and easy to adjust based on what you are trying to clean.
This guide covers how to actually make and use a vinegar cleaning solution correctly — not just the basic idea, but the reasoning behind it, the right ratios for different jobs, and the situations where vinegar genuinely helps versus the ones where it does not belong at all.
Why Vinegar Works as a Cleaning Agent
White distilled vinegar is a dilute acetic acid solution. The vinegar sold for household use typically contains around five percent acetic acid by volume. That level of acidity is mild enough to be safe on many surfaces, but it is strong enough to do real cleaning work.
The chemistry is straightforward. Acetic acid reacts with alkaline substances — things like hard water deposits, soap scum, and limescale. These build up on faucets, showerheads, tiles, and kettle interiors over time because tap water contains dissolved minerals, mainly calcium and magnesium. When the water evaporates, those minerals stay behind and harden into a white, chalky crust. Acid dissolves them by breaking apart the mineral compounds at a chemical level. That is why a vinegar solution removes limescale when scrubbing with water alone does not.
Vinegar also has mild antimicrobial properties. It does not sterilize surfaces the way hospital-grade disinfectants do, but it reduces the presence of common household bacteria and mold spores on surfaces. For everyday kitchen counters, bathroom tiles, and sink basins, that level of cleanliness is usually sufficient.
The other practical benefit is that vinegar rinses cleanly. It does not leave a soapy film or sticky residue. Once the surface dries, the vinegar smell fades too, which reassures a lot of people who are cautious about using it near food preparation areas.
Choosing the Right Vinegar
For cleaning purposes, plain white distilled vinegar is the right choice. It is clear, inexpensive, and consistently acidic. Apple cider vinegar, wine vinegar, and other flavored varieties are not suitable for cleaning. They contain pigments, sugars, and organic compounds that can stain surfaces or leave behind a sticky residue.
When shopping, look for white vinegar labeled at five percent acidity. That is the standard grocery store variety and the one this guide refers to throughout. Some stores also sell cleaning vinegar at around six to ten percent acidity. That stronger version can be useful for heavy mineral buildup, but it requires more caution and should always be diluted before use. It is not necessary for routine household cleaning tasks.
The Basic All-Purpose Vinegar Solution
The most useful starting point is a simple diluted spray that works on kitchen counters, bathroom surfaces, stovetop exteriors, cabinet doors, and tile.
The standard ratio is one part white vinegar to one part water. For a standard spray bottle, that means filling it halfway with vinegar and halfway with water. This concentration is effective for general grime, fingerprints, light grease, and everyday bacteria on hard surfaces.
If you want to make the solution more pleasant to use, you can add a small amount of dish soap — about half a teaspoon per cup of solution. The soap helps lift grease and adds a bit of surfactant action that plain vinegar lacks. It also slightly masks the vinegar smell during cleaning. Shake the bottle gently before each use if you include soap, since it tends to settle.
Some people add a few drops of essential oil such as tea tree or lavender. This is mostly about scent preference. The essential oils do not significantly affect the cleaning performance of the solution, so it is entirely optional.
To use the basic solution, spray it onto the surface, let it sit for thirty to sixty seconds, then wipe with a clean cloth. For tougher spots, spray and leave it for two to three minutes before wiping. The brief contact time matters — it gives the acid time to work on deposits and residue rather than just sitting on top of them.
Stronger Solution for Limescale and Mineral Deposits
Hard water is a common issue in many regions, and the deposits it leaves behind require a stronger approach than the all-purpose spray.
For limescale on faucets, showerheads, and kettle interiors, use undiluted white vinegar or a very concentrated mixture of three parts vinegar to one part water.
On a faucet, soak a cloth or paper towel in undiluted vinegar and wrap it around the base of the faucet where the buildup is visible. Secure it with a rubber band and leave it for at least one hour. For heavy buildup, leave it for two to three hours. The acid needs time to penetrate and dissolve the mineral crust. After soaking, remove the cloth and scrub gently with an old toothbrush. The deposits will break away much more easily than they would with dry scrubbing.
For a showerhead clogged with mineral deposits, fill a small plastic bag with undiluted vinegar and secure it over the showerhead with a rubber band so the head is fully submerged in the vinegar. Leave it for an hour or overnight if the buildup is significant. When you remove the bag and run the water, the clogged spray holes will clear and the flow will improve noticeably.
For a kettle with interior limescale, fill it halfway with a mixture of equal parts vinegar and water. Bring it to a boil, then let it sit for fifteen to thirty minutes before emptying and rinsing thoroughly. Run a cycle of plain water through the kettle afterward to clear any remaining vinegar taste before using it for beverages.
Vinegar Solution for Bathroom Tiles and Grout
Bathroom tiles attract soap scum, hard water marks, and mildew — all of which respond well to an acidic cleaner. The all-purpose one-to-one solution works for light surface cleaning, but tiles with visible soap scum or early-stage mold benefit from a slightly stronger approach.
Mix two parts vinegar with one part water in a spray bottle. Spray the tile surface generously and let it sit for five to ten minutes. For grout lines that have started to darken, make a paste of vinegar and baking soda. Apply it directly to the grout with an old toothbrush and scrub in short, firm strokes. The fizzing reaction you see is harmless — it is just the acid meeting the alkaline baking soda — and it helps loosen the grime sitting in the grout texture.
One thing to understand about vinegar on bathroom tile: it works well on ceramic and porcelain tile, but it should not be used on natural stone. Marble, travertine, slate, and similar stone surfaces are sensitive to acid. Even diluted vinegar can etch or dull the surface of natural stone over time. If your bathroom has stone tile, use a pH-neutral cleaner instead.
Cleaning Glass and Windows
Vinegar is genuinely good at cleaning glass. It cuts through the greasy haze that builds up on windows and mirrors — the kind that comes from cooking fumes, fingerprints, and airborne dust that settles on slightly damp surfaces.
For windows and mirrors, use a mixture of two parts water to one part vinegar. This is a lighter dilution than the general surface spray because glass does not need aggressive cleaning — it just needs the film removed without leaving streaks.
Spray the solution onto the glass and wipe it with a microfiber cloth or a crumpled sheet of newspaper. Both work well for streak-free results. Lint from paper towels tends to catch on glass edges and leave fibers behind, so they are less ideal for this particular job.
Avoid cleaning windows in direct sunlight if possible. When the solution dries too quickly, it increases the chance of streaking. Early morning or overcast days work better.
Using Vinegar in the Kitchen
The kitchen offers several specific uses for vinegar solutions beyond general counter cleaning.
For a greasy stovetop exterior, the one-to-one all-purpose solution with a few drops of dish soap works well. Spray it on, let it sit for a minute, and wipe with a damp cloth. For older, baked-on grease, you may need to repeat the application or let it sit longer. Vinegar alone is not a degreaser in the same way that alkaline cleaners are, but the dish soap in the solution adds surfactant action that helps lift cooked-on fat.
The inside of a refrigerator is a good place for the all-purpose solution. It cleans without leaving behind any strong chemical smell that might affect the taste or smell of food stored inside. Spray the interior walls and shelves, wipe with a clean cloth, and allow it to air dry with the door slightly open for a few minutes. The vinegar smell dissipates quickly.
For cutting boards that have absorbed food odors, wipe them down with undiluted vinegar and let it sit for five minutes before rinsing. This helps neutralize the organic compounds responsible for lingering smells without soaking the board the way water cleaning can if done too often.
Deodorizing with Vinegar Solution
Vinegar is effective at neutralizing odors rather than simply masking them. This is because many household smells come from organic compounds that are either acidic or alkaline in nature. Vinegar can neutralize alkaline odors — things like pet smells, mildew, and food odors — by reacting with the molecules responsible.
For smelly drains, pour half a cup of undiluted white vinegar directly into the drain, followed by half a cup of baking soda. Let the fizzing reaction work for ten minutes, then flush with hot water. This combination helps break up the organic buildup — food residue, grease, and bacteria — that accumulates on drain walls and produces odor.
For a room with a stale or musty smell, a small bowl of undiluted vinegar left out overnight will absorb and neutralize airborne odors. It is not an instant fix, but by morning the room will typically smell fresher. The vinegar smell itself fades as it evaporates.
When Vinegar Does Not Work Well
Vinegar has clear limits, and understanding them prevents frustration and accidental surface damage.
- Natural stone surfaces — marble, granite, travertine, limestone — should never be cleaned with vinegar. Acid etches these materials and causes permanent dulling or pitting over time.
- Cast iron cookware should not be cleaned with vinegar. The acid strips away the seasoning layer that makes cast iron non-stick and rust-resistant.
- Waxed wood floors or wood furniture with a wax finish should be avoided. Vinegar can break down the wax coating and leave the wood surface unprotected.
- Hardened, baked-on grease that has carbonized — such as the interior of an oven after a significant spill — is not well addressed by vinegar alone. An alkaline cleaner or baking soda paste is more effective in that situation.
- Bleach should never be mixed with vinegar. Mixing them creates chlorine gas, which is harmful. Always use one or the other, never together.
Vinegar also does not disinfect in a clinical sense. For situations that require genuine disinfection — such as surfaces that have come into contact with raw meat or a family member who is ill — a proper disinfectant is the better choice. Vinegar handles general household cleanliness well, but it is not a substitute for disinfection when that level of hygiene is specifically needed.
Storing Your Vinegar Solution
A prepared vinegar spray can be stored and used for several weeks. Label the bottle clearly with the mixture and date. Keep it in a cool, shaded spot — not in direct sunlight, which can degrade the solution over time. A dedicated spray bottle kept under the kitchen sink or in the cleaning cupboard makes it easy to reach for during everyday tasks without needing to measure out a fresh batch each time.
If you added essential oils or dish soap to the mixture, give the bottle a gentle shake before each use to recombine the ingredients, since they naturally separate as they sit.
Related articles
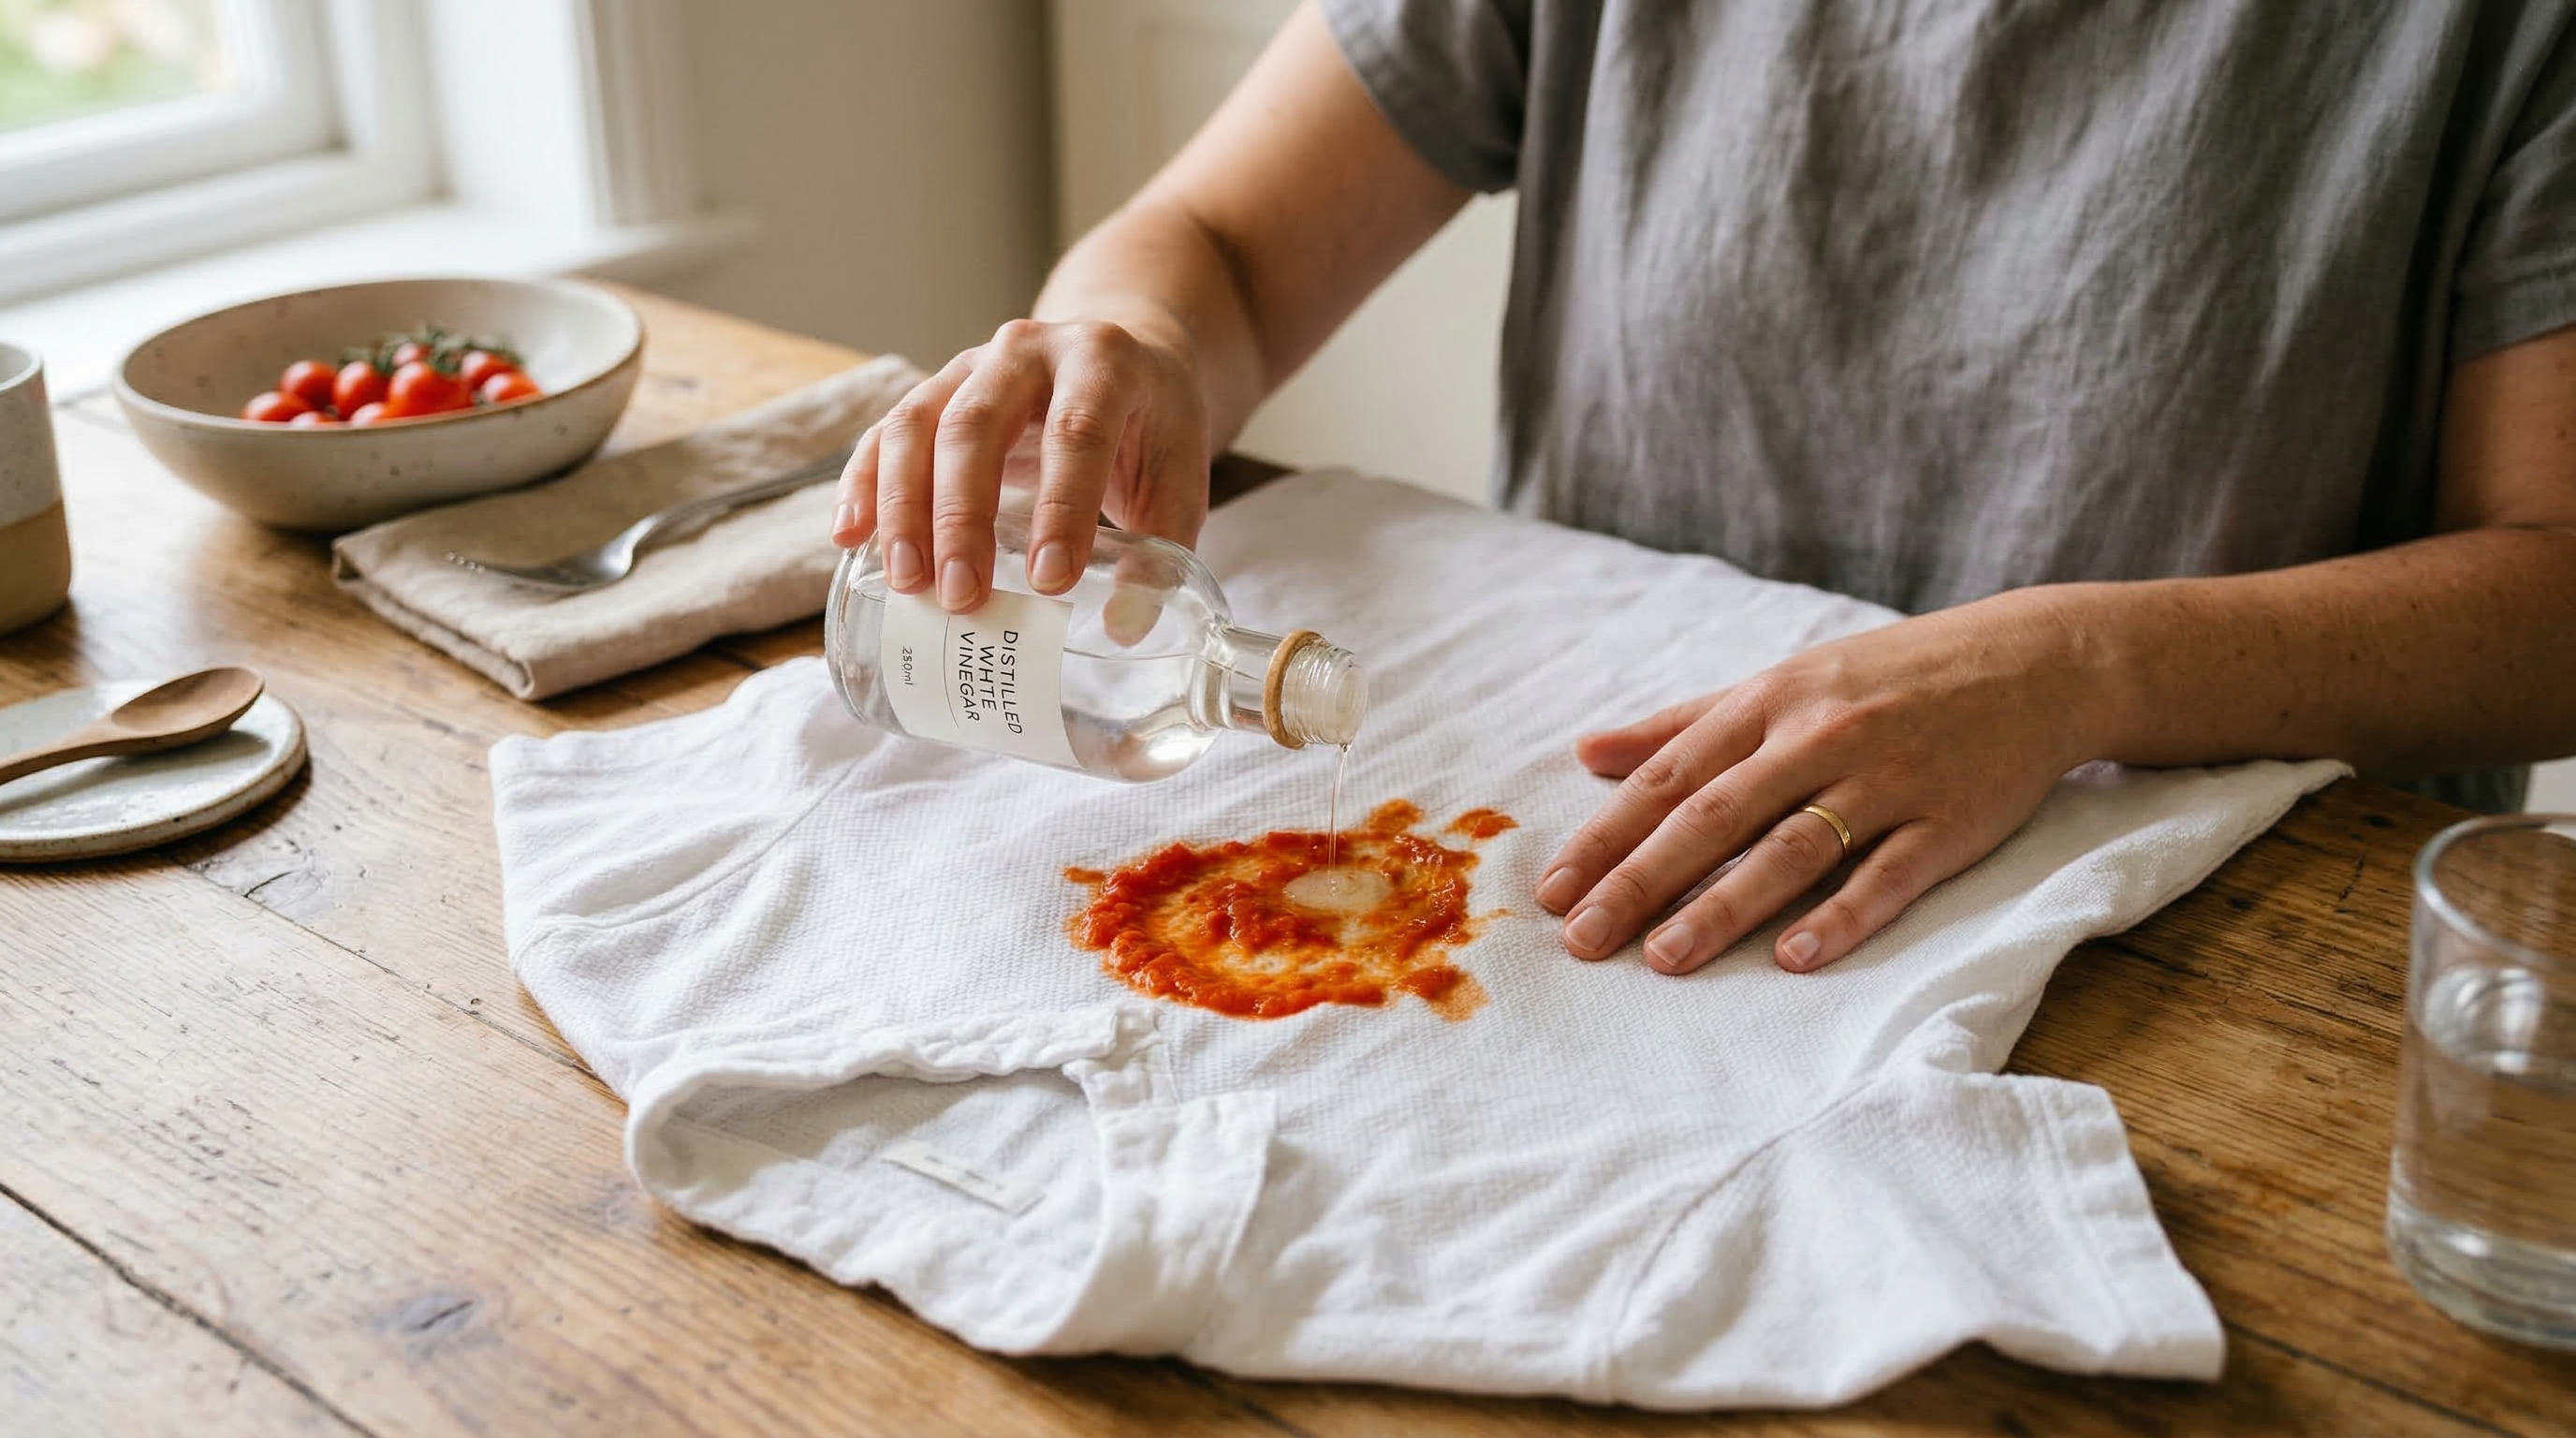
Grandma Knows: How to Remove Tomato Sauce from Clothing
Tomato sauce stains are vivid and quick to set. Learn the right sequence of treatments to remove tomato stains from clothing before they become permanent.
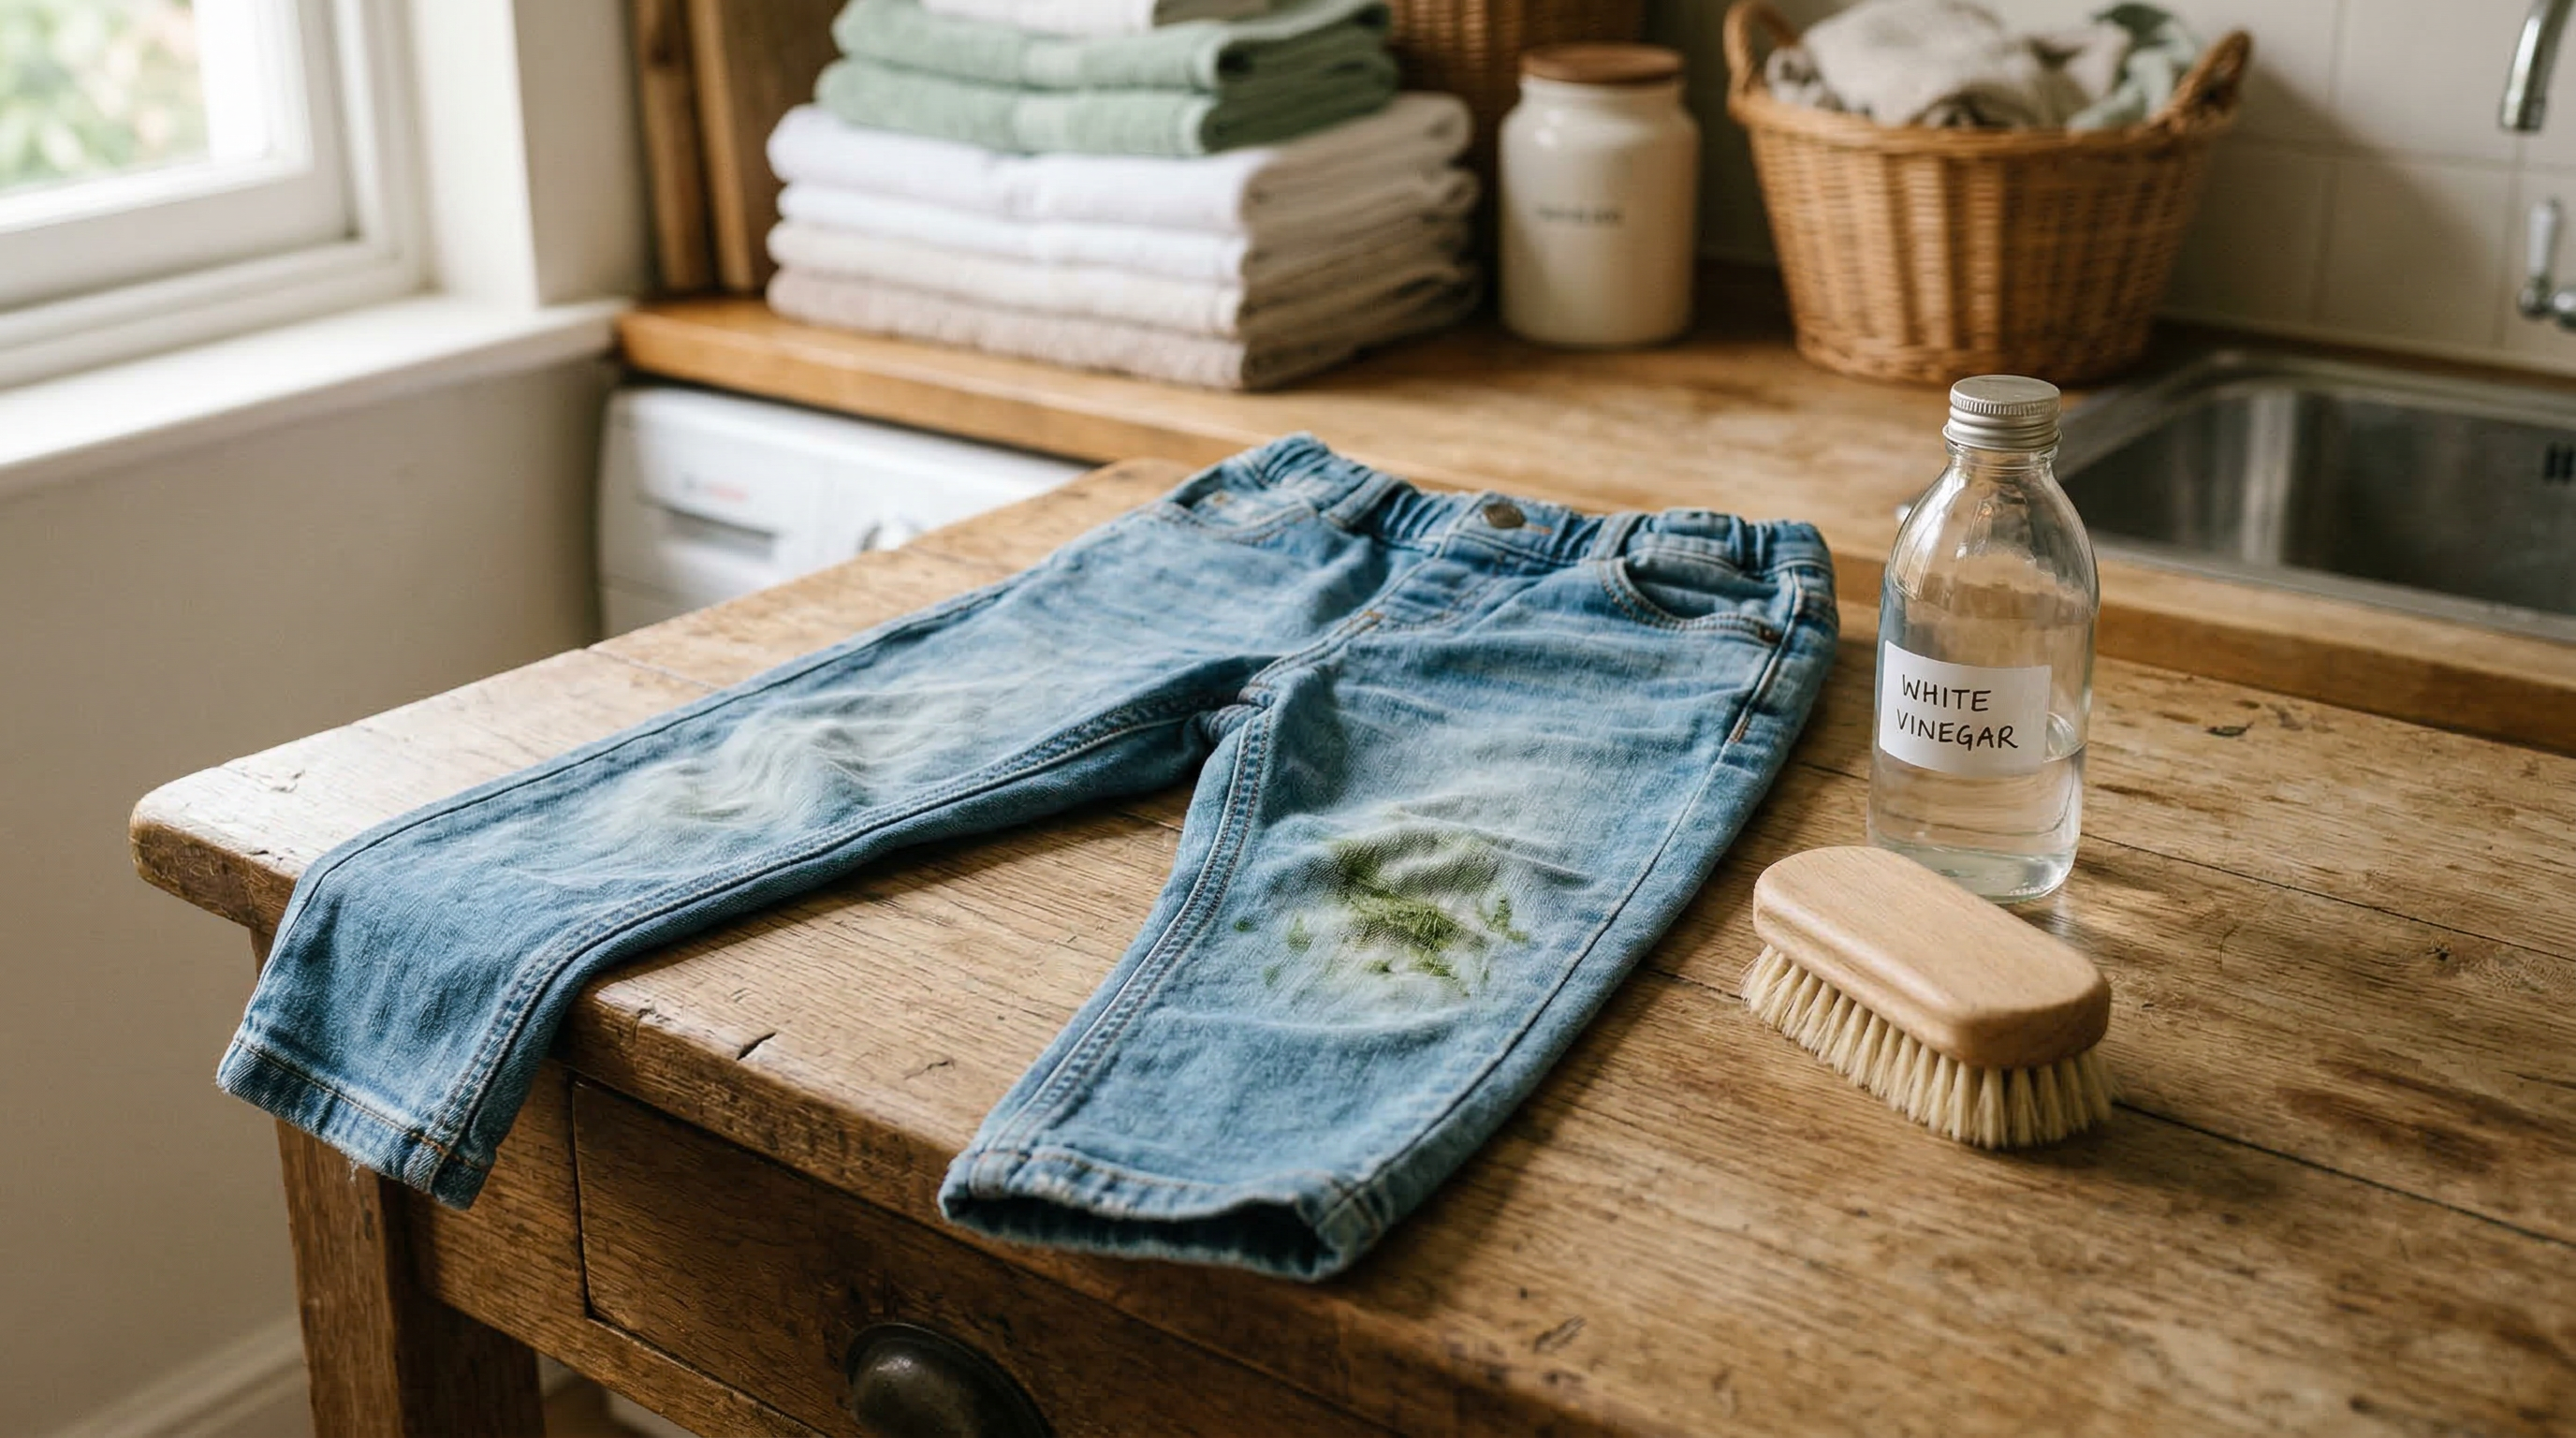
Grandma Knows: How to Remove Grass Stains from Clothes
Grass stains on clothes are stubborn but very treatable. Learn the household methods that break down chlorophyll and get fabric clean again.
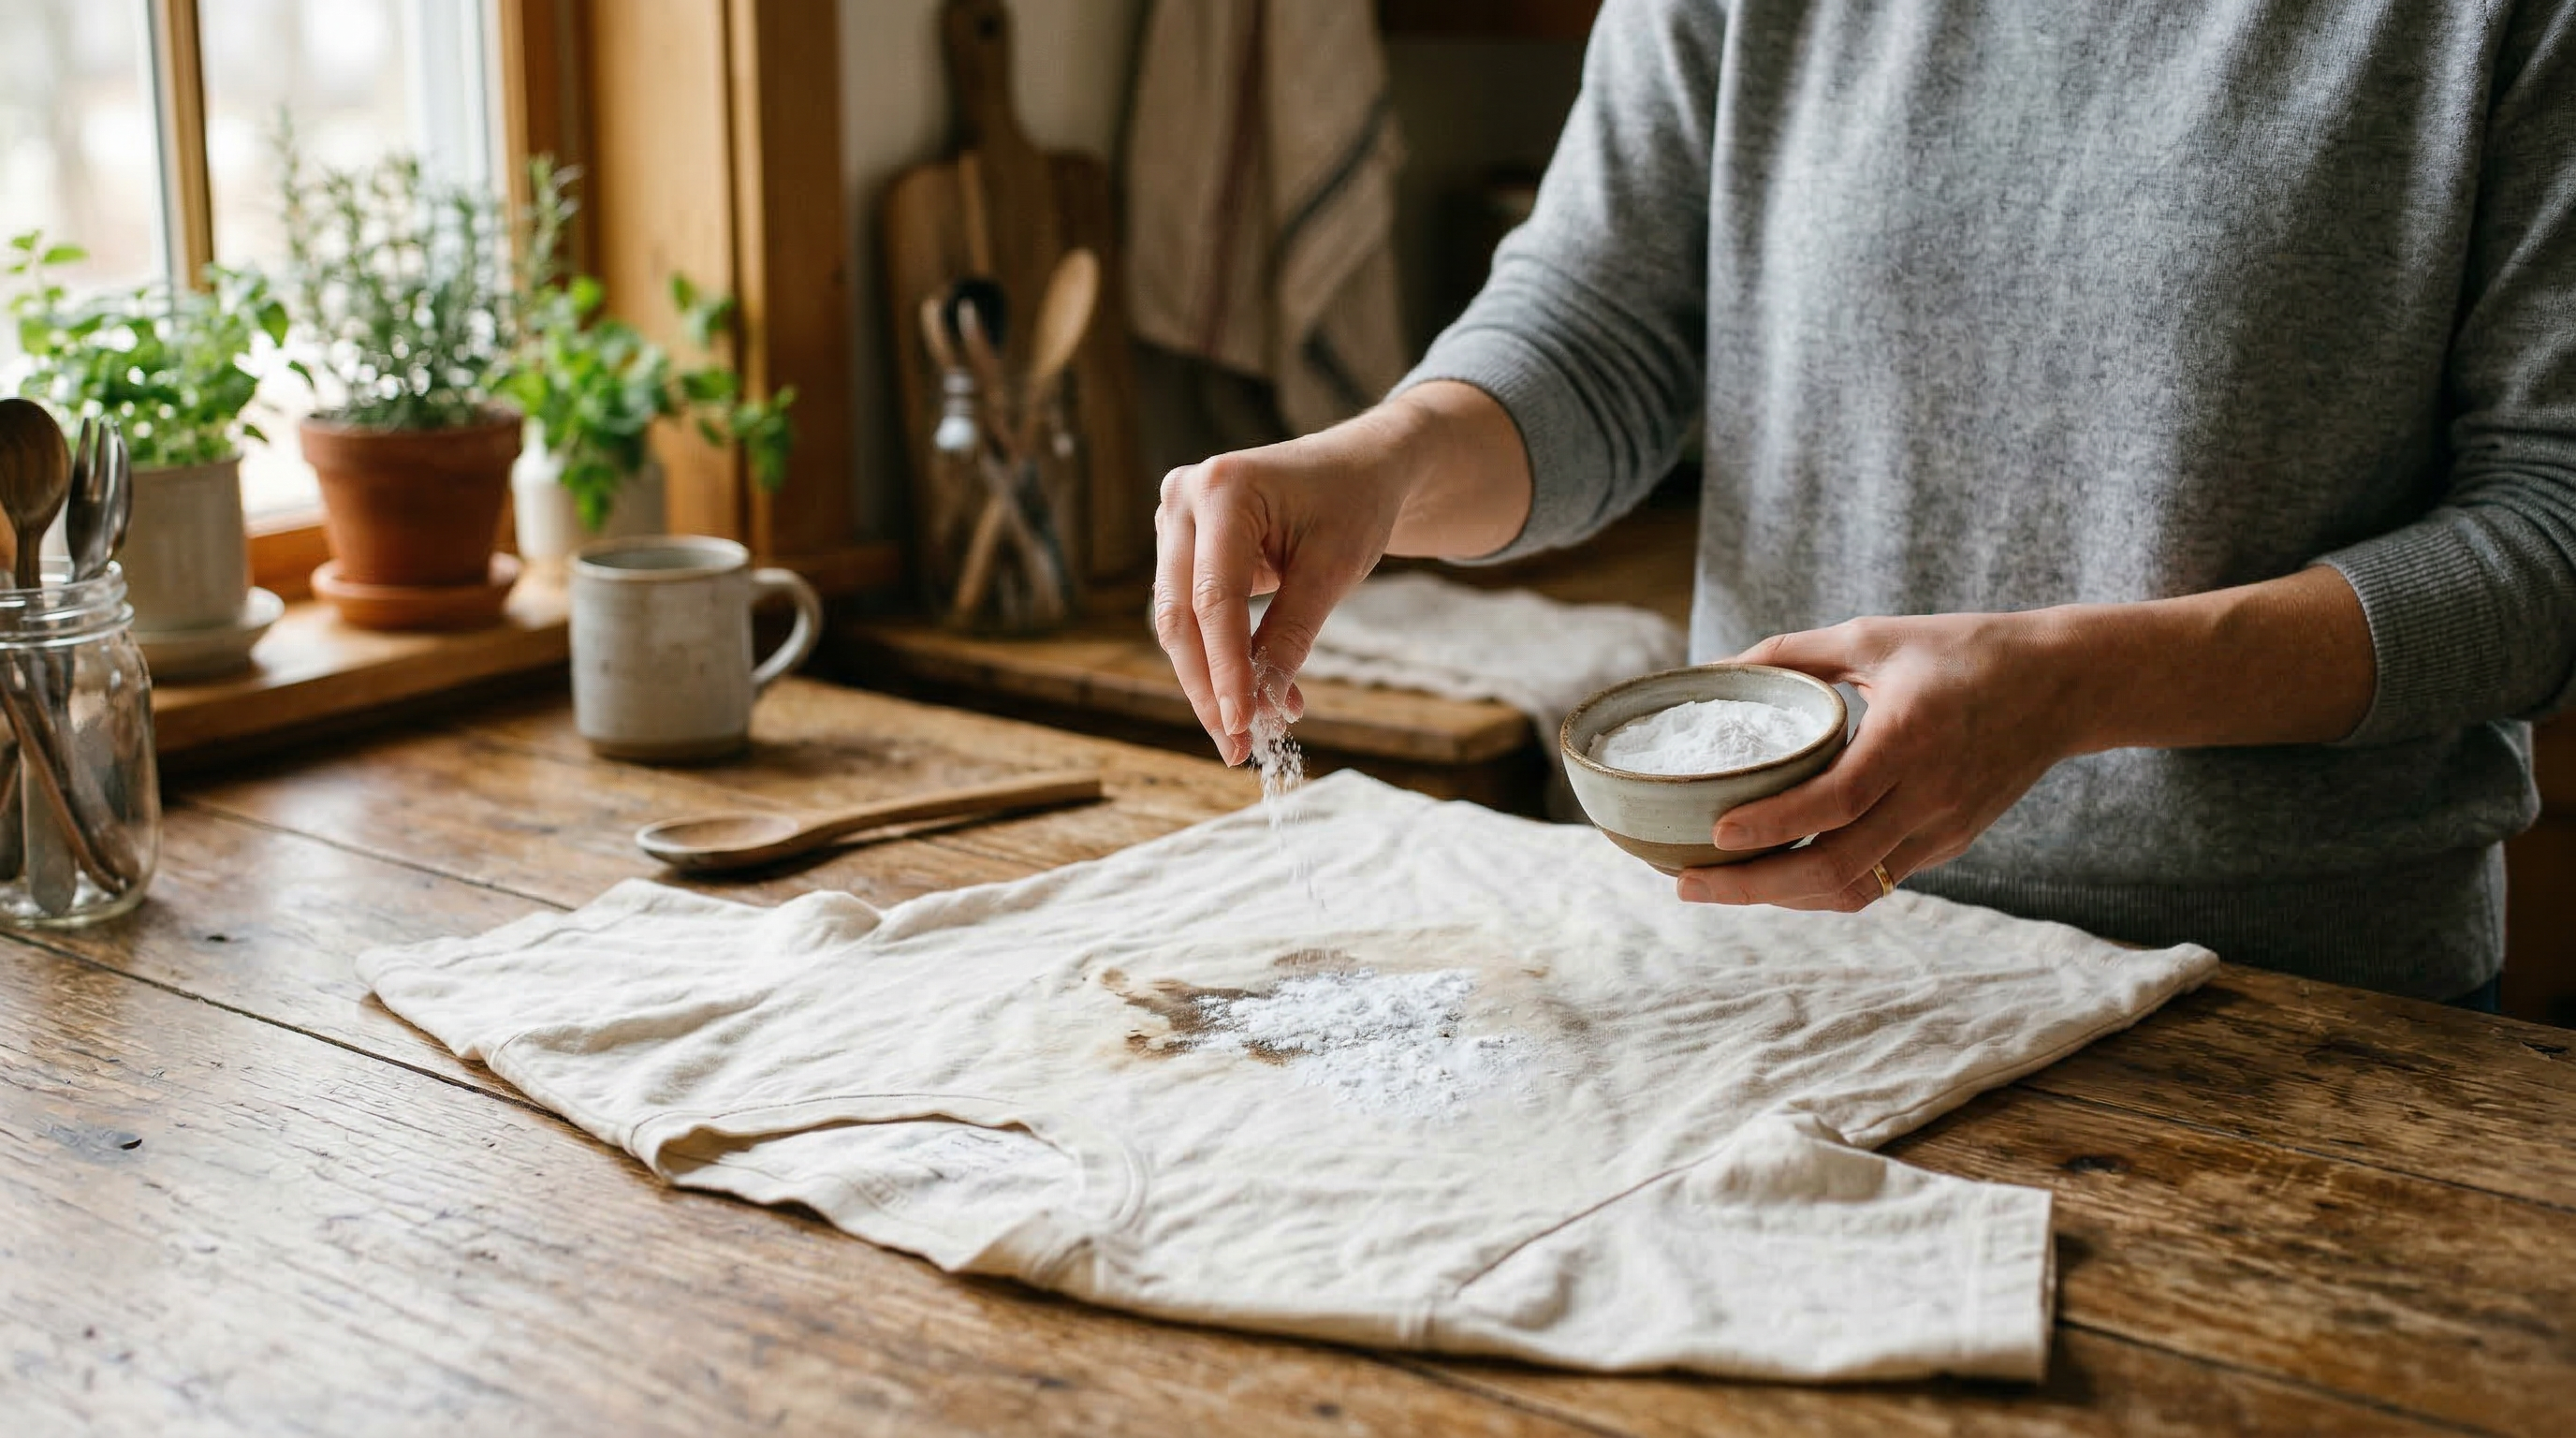
Grandma Knows: How to Remove Grease from Clothes
Grease stains on clothes are tricky but not impossible. Discover proven household methods using baking soda, dish soap, and patience.