Grandma Knows: How to Keep the Pantry Organized
A disorganized pantry wastes food and time. Learn practical, time-tested methods to sort, store, and maintain a pantry that actually stays tidy.

A pantry that works well is one of the quietest pleasures of a well-run home. You open the door, you find what you need, and you move on with your day. No hunting through stacked cans, no mystery bags from six months ago, no half-empty boxes tipping over each time you reach for something. That kind of order doesn't happen by accident, but it also doesn't require expensive containers or a weekend overhaul. It comes from understanding how pantry chaos actually starts — and making a few small decisions that prevent it from building back up.
The problem most people run into isn't that they're disorganized by nature. It's that pantries are designed to absorb clutter. Deep shelves hide what's in the back. Bags and boxes of different sizes don't stack evenly. Items get pushed aside when groceries come in, and before long the whole space becomes a guessing game. Knowing why this happens is the first step to keeping it from repeating.
Why Pantry Disorder Builds So Quickly
Most pantry disorganization comes from one root habit: putting new groceries in front of older ones. It's the fastest way to unload bags, but over time it means the things you bought three weeks ago get buried, expire quietly, and eventually get thrown away. This cycle wastes money and creates a false sense that the pantry is fuller than it actually is.
The second cause is mixed categories. When canned goods, baking supplies, snacks, spices, and dry pasta all share the same shelf without any clear zones, every item becomes equally easy to overlook. Your eye has nowhere useful to land, so you either scan slowly every time or simply buy duplicates because you weren't sure if you had something at home.
A third cause, often overlooked, is irregular shelf depth. Standard pantry shelves are often 16 to 20 inches deep — far deeper than most food items need. That extra space behind the front row acts like a black hole. Items disappear into it, and they don't come back until a full clear-out forces them into view.
The Foundation: Empty, Sort, and Assess
Before any organizing system can work, you need a clear picture of what you actually have. This means taking everything out. Not just reorganizing things in place — genuinely removing each item from the shelf and setting it on the counter or table.
While everything is out, wipe down the shelves. Spilled salt, sugar grit, and oil residue build up slowly and create the kind of stickiness that makes shelf liners curl and containers hard to slide. A damp cloth with a small amount of white vinegar handles most residue cleanly without leaving a soapy film. Let the shelves dry fully before putting anything back.
As you sort through what came out, group items honestly:
- Expired items — these go in the trash, no negotiation
- Items that belong somewhere else in the kitchen
- Items you won't realistically use — these can be donated if unexpired
- Duplicates — consolidate where possible
- Everything that belongs in the pantry and will actually be used
Most households are surprised by how much pantry space opens up after this step alone. Expired goods, misplaced items, and forgotten duplicates often account for a full shelf's worth of space.
Setting Up Zones That Make Practical Sense
Once the shelves are clear and clean, the most important decision is how to divide the space into zones. A zone is simply a consistent area where one type of item always lives. The exact zones depend on how your household cooks, but a reliable general structure looks like this.
The eye-level shelf — the one you see first without bending or reaching — should hold the items you use most frequently. For most households, that's cooking staples: oils, vinegars, commonly used spices, salt, and whatever dry ingredient gets used several times a week. If you bake regularly, flour and sugar might belong here. If you cook a lot of pasta, that goes at eye level too.
The shelf above eye level works well for items used regularly but not daily — extra canned goods, dry beans, lentils, canned tomatoes, and similar pantry staples. These are visible enough to remember but out of the way during daily cooking.
Lower shelves are practical for heavier items: large bags of rice or flour, bulk cans, glass jars, or anything bulky. Heavy items on lower shelves are also safer — they're less likely to fall from a height and easier to lift without straining.
A small section, even just one shelf or basket, works well for snacks and grab-and-go items, especially in households with children. When snacks have a single fixed location, they stop migrating to random shelves and mixing in with cooking ingredients.
The First-In, First-Out Rule
The single habit that does the most work in a well-run pantry is what kitchen professionals call first in, first out. When new groceries arrive, the newer items go behind the older ones. The older items get pulled forward. You always cook from the front, and the back of the shelf naturally cycles through over time.
This sounds simple, and it is — but it requires a moment of intention every time you unload groceries. The instinct is to put new things at the front because they're already in your hands. Reversing that habit takes about two or three weeks to feel automatic.
For items that come in identical packaging, like canned beans or canned tomatoes, you can mark the top of older cans with a small piece of masking tape when they come in. When new cans arrive, any can with tape on it goes in front. It's a quick visual reminder that costs nothing and saves food from being forgotten.
Containers: When They Help and When They Don't
Matching airtight containers look orderly, and for certain ingredients they genuinely extend shelf life. Flour, sugar, cornmeal, oats, and similar dry goods benefit from airtight storage because they're vulnerable to humidity, pests, and absorbing surrounding odors. A sealed container keeps them fresh longer and makes it easier to see at a glance how much is left.
That said, containers are not a universal solution. They work best for ingredients you use often and refill on a regular schedule. For specialty items you buy once and use slowly — a bag of a particular spice blend, a box of a grain you cook occasionally — transferring to a container just creates an unlabeled mystery over time. Those items are often better left in their original packaging, which carries expiration dates, preparation instructions, and enough context to remind you what the item actually is.
If you do use containers, labeling matters more than aesthetics. Write the item name and the date you filled it, either directly on the container with a permanent marker or on a piece of masking tape. When you refill, update the date. This takes seconds and prevents the common frustration of opening an unmarked container and genuinely not knowing what's inside or how long it's been there.
Dealing with Depth: Making the Back of the Shelf Usable
Deep shelves are one of the most common sources of pantry dysfunction, and the solution is simply to limit how far back items can go. There are a few practical ways to do this.
Shallow bins or small trays placed on the shelf create a natural front boundary. Items go in the bin, the bin stays at the front, and nothing drifts backward. When you need something, you pull out the bin briefly rather than reaching into a dark corner. For spices and small jars in particular, a shallow tray that pulls forward like a drawer makes a noticeable difference.
Tiered risers — the kind you might use for spice jars — allow the back row to sit slightly higher than the front row, making both visible at the same time. This works especially well for canned goods, where identical-looking cans otherwise hide each other completely.
For very deep shelves with nothing built in, a simple rule of two rows is easier to maintain than three or four. If you find yourself pushing items into a third row, that's a signal to reassess whether you have too much of something or whether another storage location might work better for part of the load.
Managing Bags and Loose Packaging
Bags of chips, crackers, nuts, dried fruit, rice, and similar items are among the hardest things to keep tidy because they don't stand on their own, they vary in size, and they tend to fall over and get pushed around. A few small tools make this manageable.
For partially used bags, fold the top down tightly and secure it with a clip or rubber band before returning it to the shelf. This keeps the contents fresh, makes the bag easier to handle, and prevents it from spilling if something nearby shifts.
Open bags of flour, sugar, cornmeal, or oats are better transferred to containers — not for aesthetics, but because these ingredients attract moisture and, in warmer kitchens, occasionally attract pantry moths. A sealed container with a tight lid eliminates both risks.
Upright bins work well for grouping loose bags of similar items. Rather than lining them up and watching them lean into each other, standing them in a bin keeps them contained and makes the entire group easy to move as one unit when you need to access the shelf behind them.
Preventing Pests Without Harsh Chemicals
A clean, organized pantry is naturally less hospitable to pests because there are fewer hidden corners, fewer open packages, and less residue for insects to feed on. Still, pantry moths and weevils can arrive in purchased grains and flour, so they're not always preventable through cleanliness alone.
Bay leaves placed on the shelf, inside containers, or slipped inside bags of dry goods act as a mild natural deterrent. The volatile oils in dried bay leaves are unpleasant to many pantry insects and have been used in home food storage for generations. A few leaves on each shelf cost almost nothing and cause no harm to food or household members.
If you do find signs of infestation — small webbing inside grain packages, tiny holes in bags, or fine powder around containers — remove everything from the affected area immediately, dispose of compromised food, and clean the shelf thoroughly with white vinegar before restocking. Check sealed containers carefully; larvae can sometimes enter through imperfect seals.
The Weekly Check: Keeping Order Without Reorganizing Every Month
A pantry that gets a full reorganization every few months but no attention in between will drift back into disarray. The more sustainable approach is a brief weekly check that takes no more than five minutes.
Once a week — many people find this easiest right before or right after grocery shopping — take a quick look at each zone. Move anything that has drifted out of place. Pull anything that's nearly empty to the front so it gets used before being restocked. Glance at expiration dates on anything that's been sitting for a while.
This habit works because it catches small disorder before it becomes large disorder. A single can in the wrong zone is easy to move. Ten cans in the wrong zone feel like a project. Five minutes of weekly attention is vastly easier than an hour of monthly recovery.
When grocery shopping, taking a quick phone photo of the pantry interior before leaving the house is a habit worth building. It takes three seconds and eliminates the guesswork of whether you need more olive oil, more canned beans, or more pasta. It also prevents the common pattern of buying something you already have because you couldn't remember whether you were running low.
Adjusting the System Over Time
No pantry organization system stays perfectly suited to a household forever. Cooking habits shift, family size changes, and certain ingredients move in and out of regular rotation. The zones that made perfect sense two years ago may not reflect how the kitchen actually operates today.
A pantry system that works well is one that gets adjusted when it stops working — not when it reaches a point of complete disorder. If you notice yourself regularly returning items to the wrong zone because it's more convenient, that's a sign the zone placement should move, not that you need more discipline. Organize the pantry around how you actually live, not around how you think you should.
The goal is a space that feels easy to use every single day — not a showpiece that requires effort to maintain. When the system fits the routine, keeping it up takes almost no conscious energy at all. That's the kind of order worth building.
Related articles
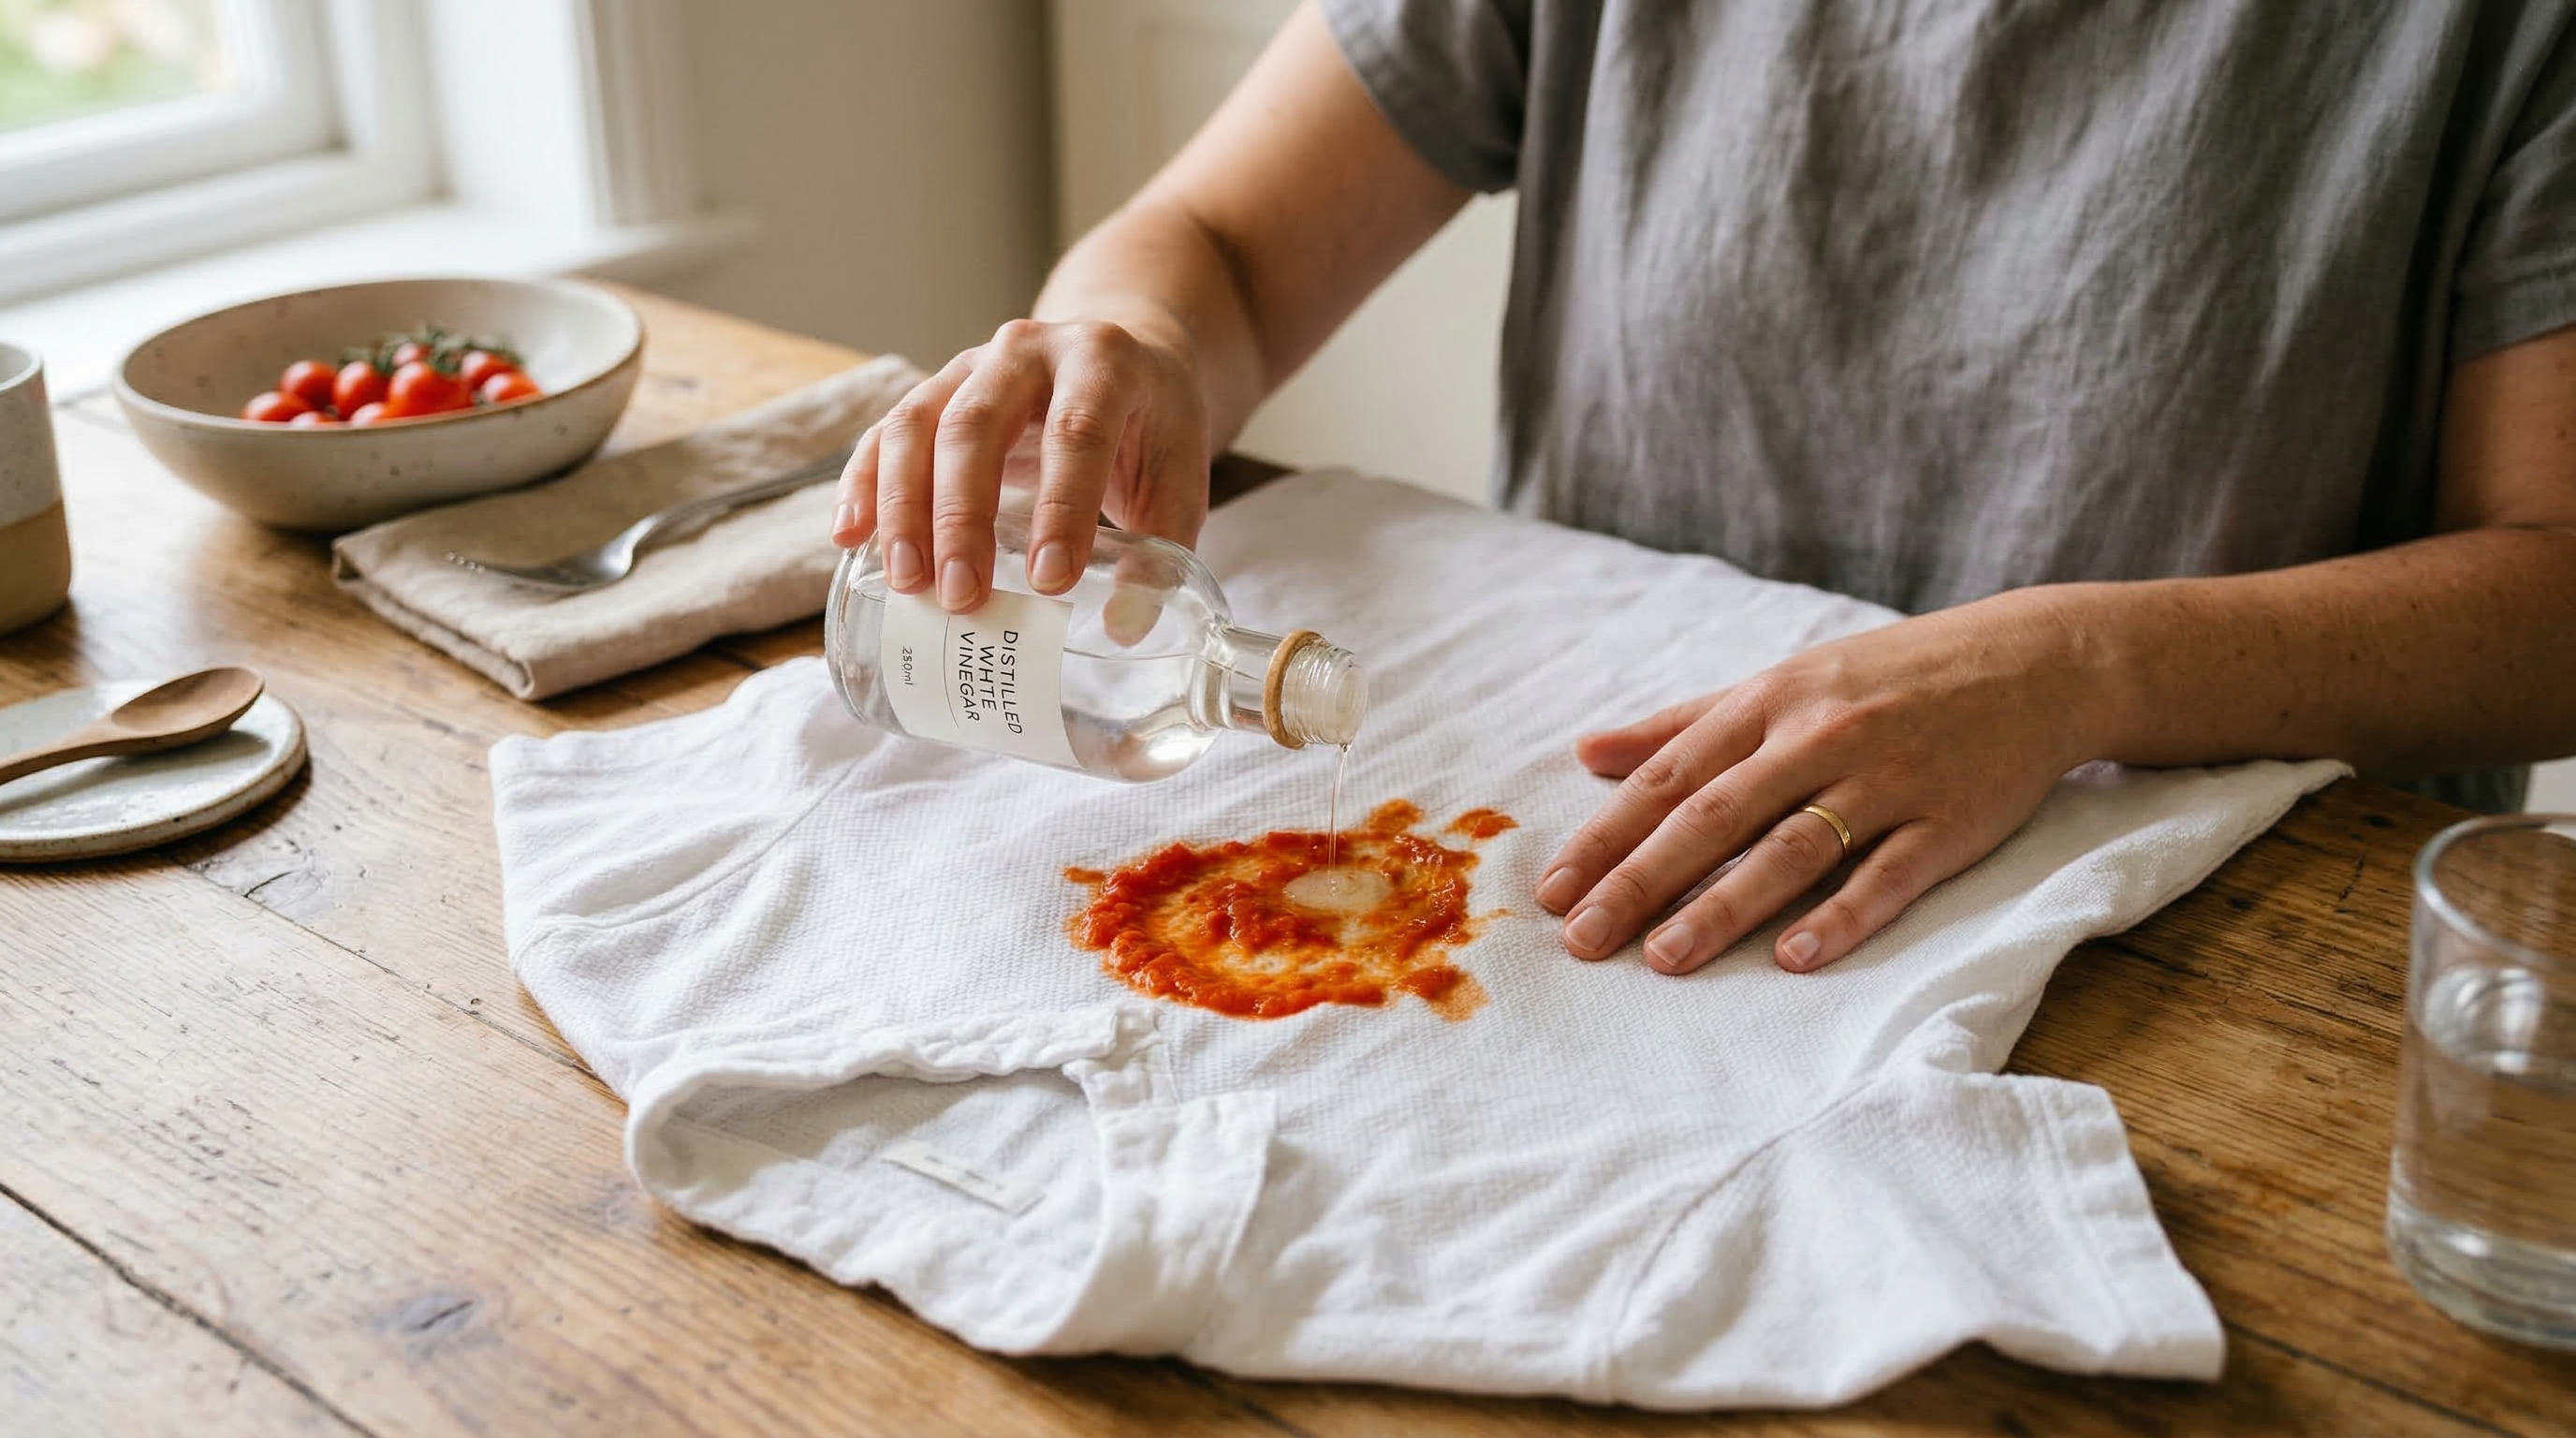
Grandma Knows: How to Remove Tomato Sauce from Clothing
Tomato sauce stains are vivid and quick to set. Learn the right sequence of treatments to remove tomato stains from clothing before they become permanent.
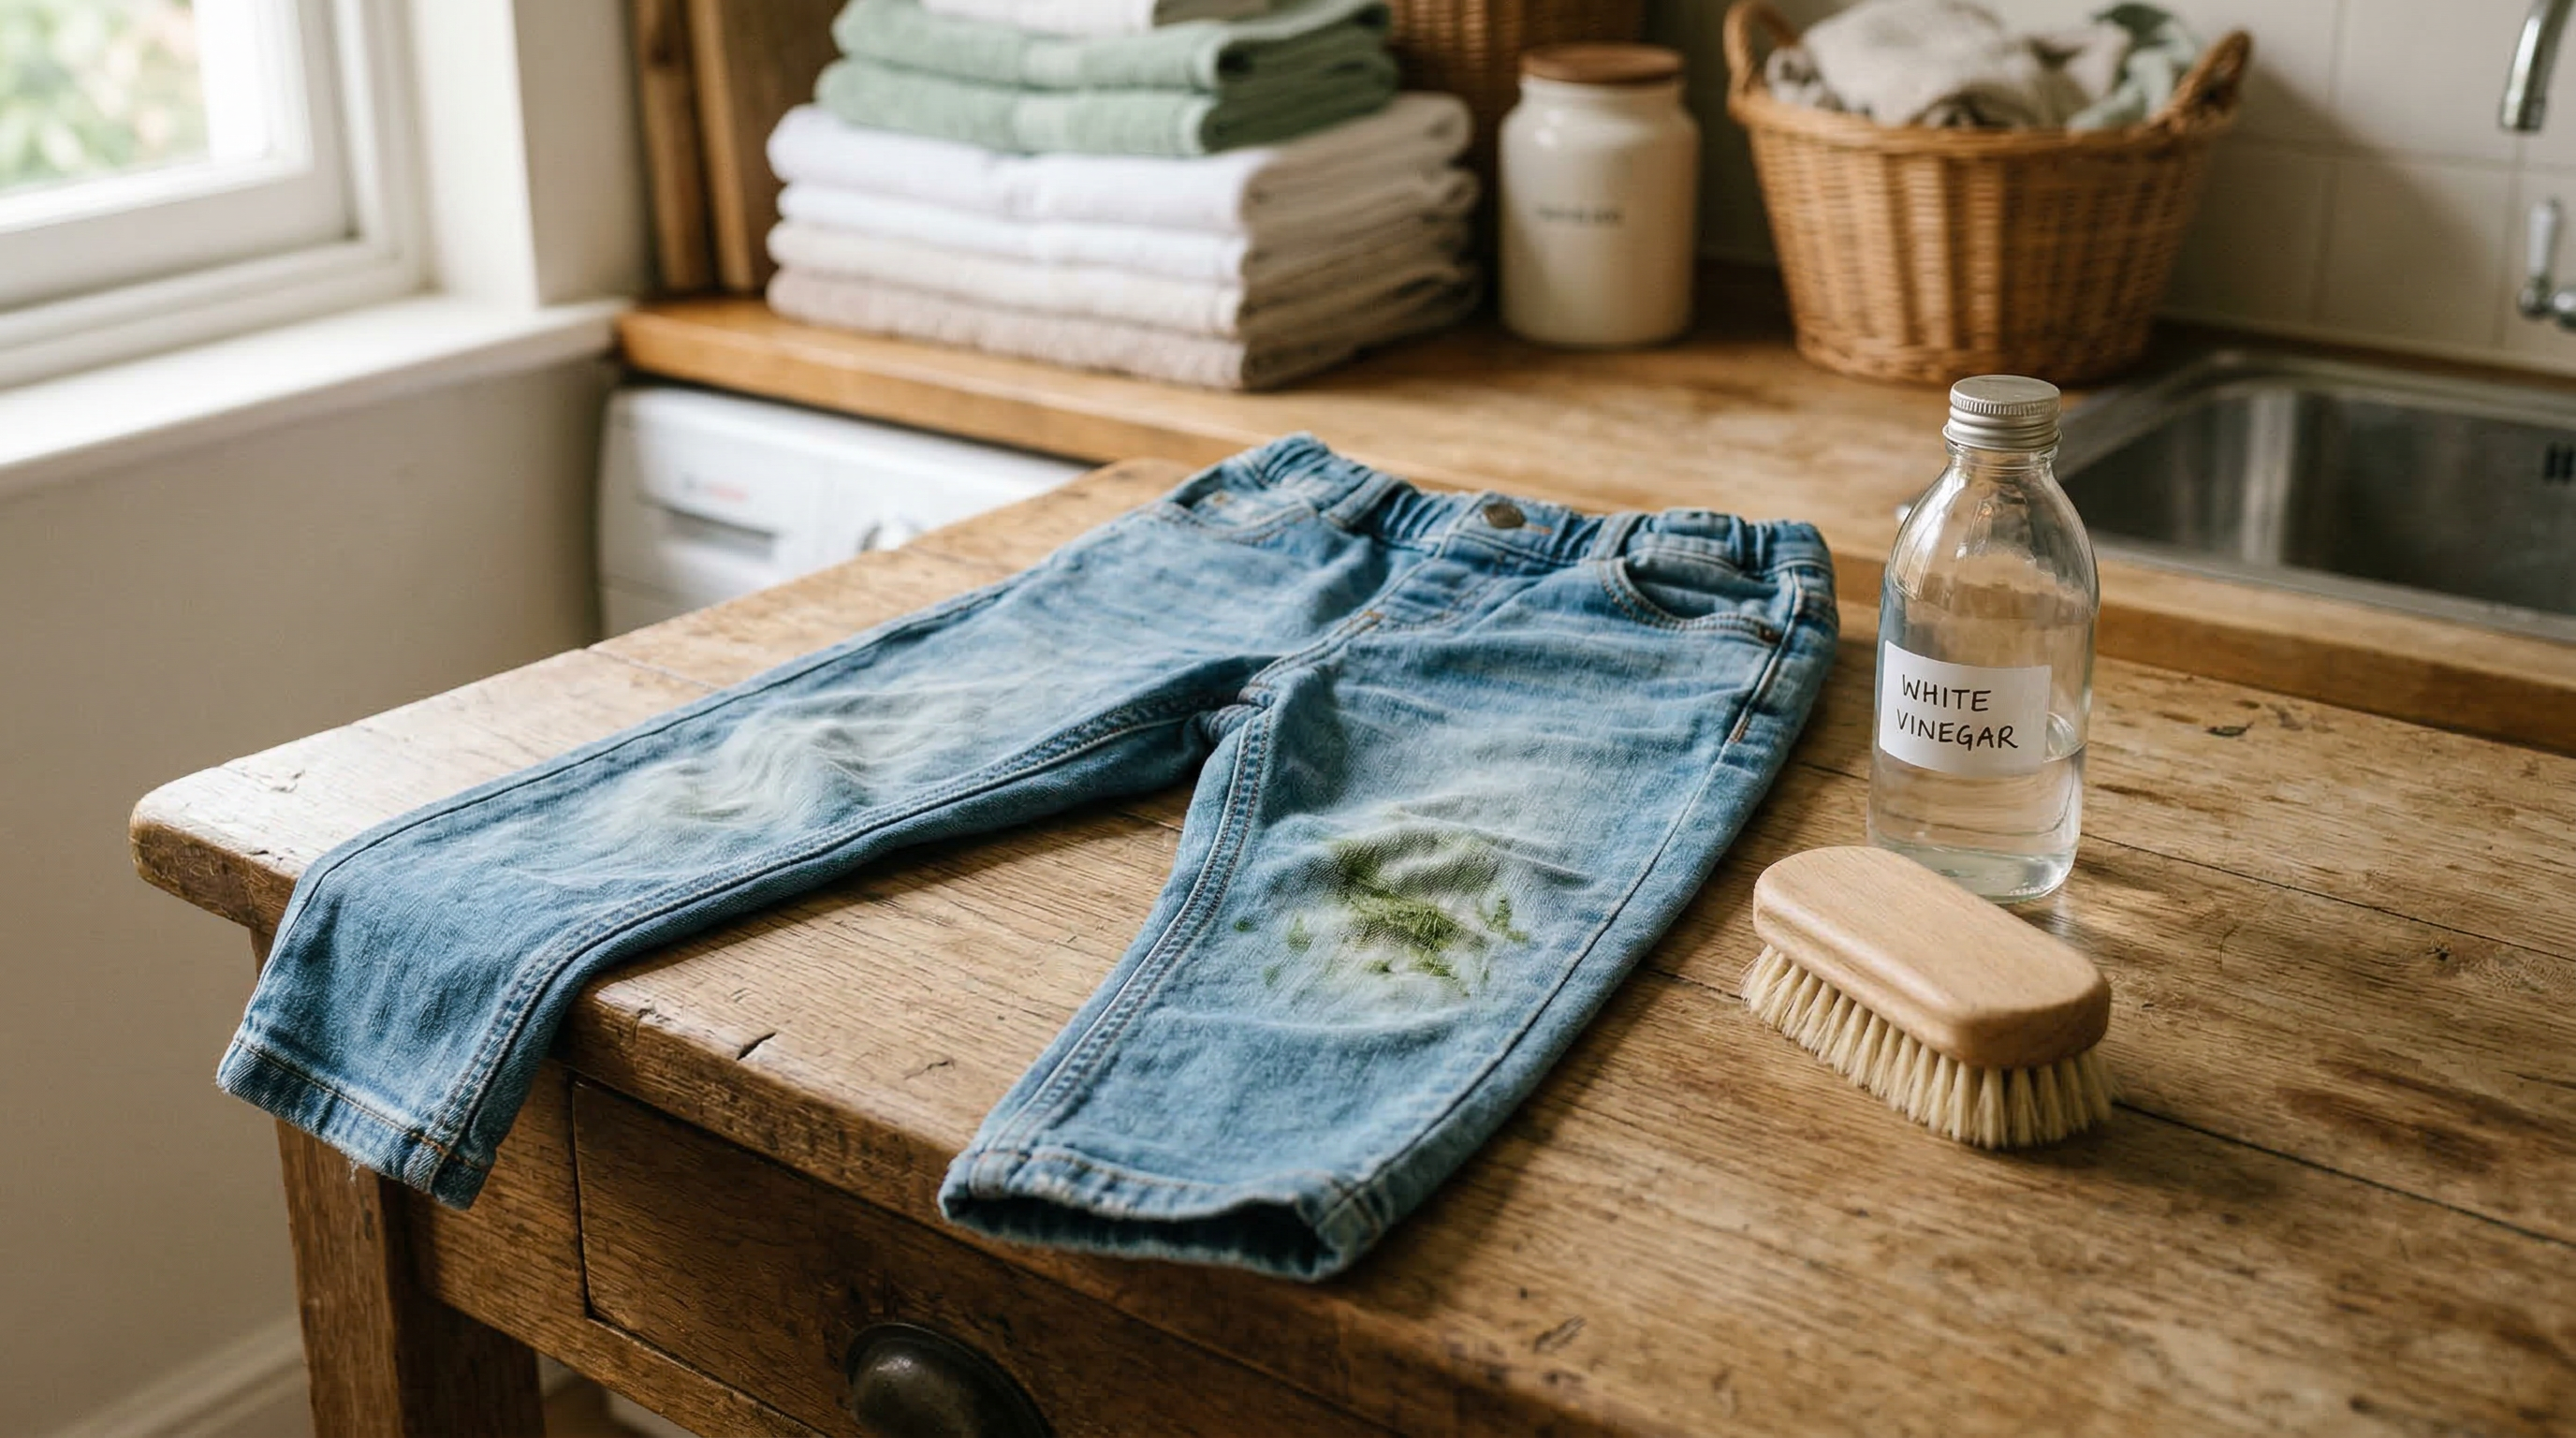
Grandma Knows: How to Remove Grass Stains from Clothes
Grass stains on clothes are stubborn but very treatable. Learn the household methods that break down chlorophyll and get fabric clean again.
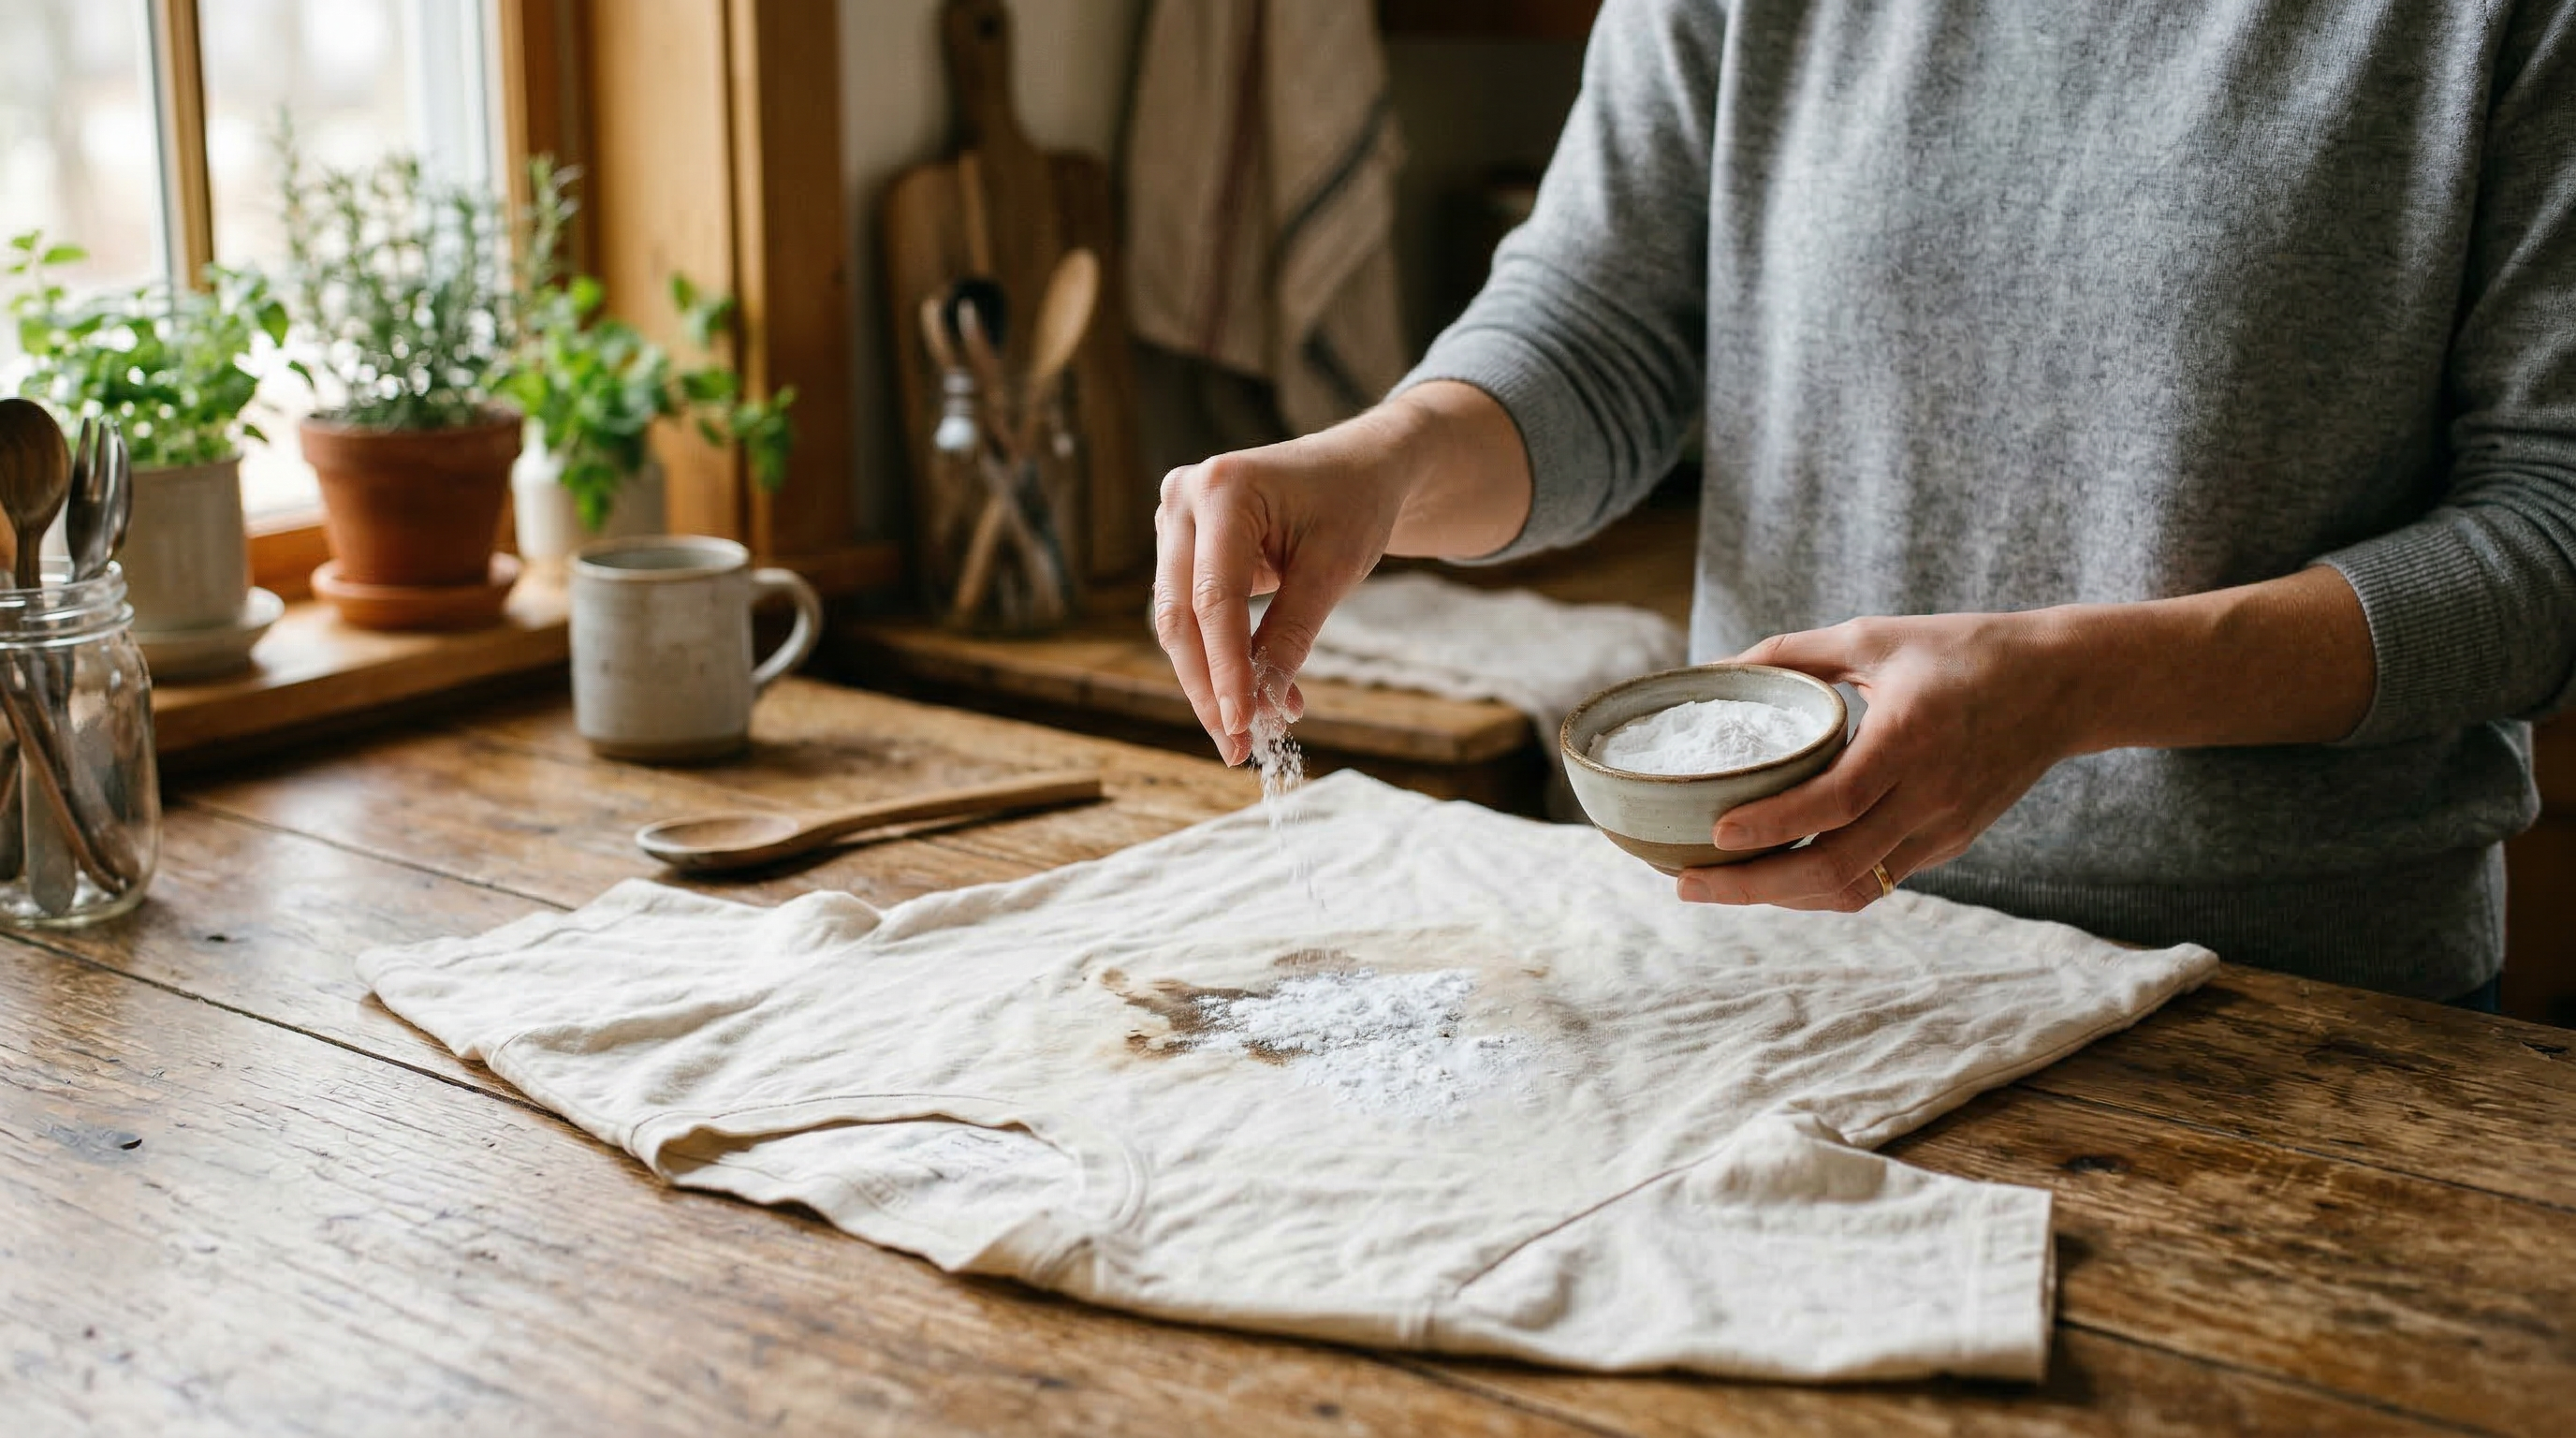
Grandma Knows: How to Remove Grease from Clothes
Grease stains on clothes are tricky but not impossible. Discover proven household methods using baking soda, dish soap, and patience.