Grandma Knows: How to Get Ink Off Walls
Ink on your walls? Learn practical, proven methods to remove ink stains from painted and wallpapered walls without causing damage.
It happens in an ordinary moment. A pen slips, a marker gets left uncapped near the wall, or a child decides the living room needs a little decoration. Ink on walls is one of those household problems that looks worse than it often is — but only if you approach it the right way.
The good news is that most ink stains on walls can be reduced or removed entirely using things already in the house. The not-so-good news is that the wrong approach — rubbing too hard, using the wrong cleaner, or waiting too long — can turn a fixable problem into a permanent one. Understanding a little about how ink behaves on wall surfaces makes all the difference.
Why Ink Sticks to Walls the Way It Does
Ink is designed to bond quickly and stay put. That's what makes it useful for writing, and what makes it so frustrating on walls. Most household inks — ballpoint pen, permanent marker, felt-tip, and printer ink — contain dyes or pigments suspended in a carrier liquid, often oil-based or alcohol-based. The moment that carrier evaporates, the dye begins to bond with whatever surface it landed on.
Wall paint is slightly porous, especially older flat or matte finishes. The ink doesn't just sit on top — it seeps in a little. That's why a fresh ink mark is always easier to remove than one that has been sitting for a week. On glossier paints, the ink has less to grip and tends to stay closer to the surface, which is why semi-gloss and satin finishes are often recommended in kitchens and hallways where walls take more abuse.
Wallpaper adds another layer of complexity. Depending on whether the paper is vinyl-coated or plain, it may absorb ink deeply or hold it at the surface. Vinyl wallpaper behaves more like a painted wall and is generally more forgiving. Plain paper wallpaper is far more delicate and requires a much gentler hand.
Before You Try Anything: A Few Sensible Precautions
The instinct when you see an ink stain is to grab something and start scrubbing. That instinct is worth resisting for just a moment. A little preparation prevents a lot of regret.
First, identify what type of wall surface you are working with. Run your fingernail lightly across an inconspicuous area. If the paint feels soft or chalky, it is a flat or matte finish, which requires gentler treatment. If the surface is harder and slightly shiny, it is more durable and will tolerate a bit more effort.
Second, always test any cleaning solution in a hidden spot before applying it to the stain. A corner behind a door or the back of a baseboard works well. Apply a small amount, let it sit for a minute, then blot and check. Some cleaners can lift paint color along with the stain, which is the outcome you want least.
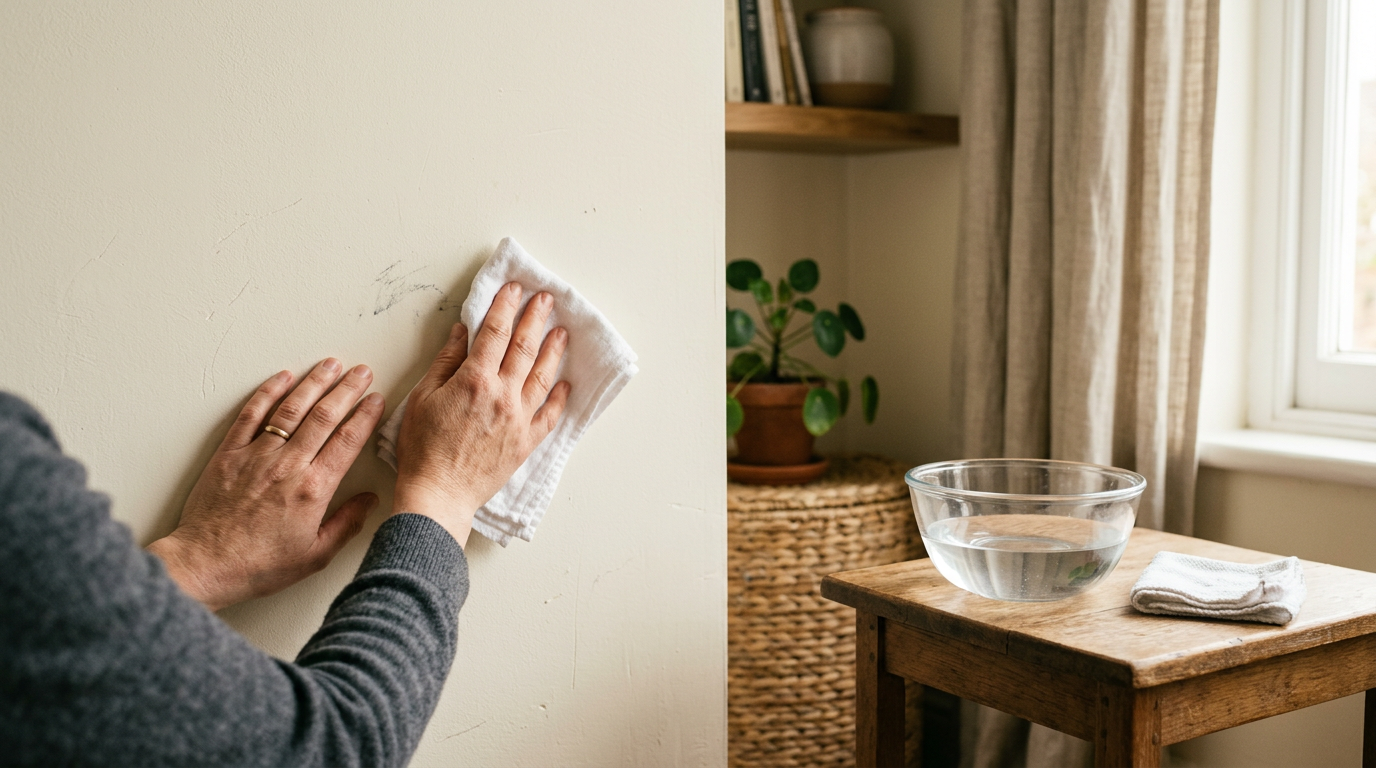
Third, always blot rather than scrub. Scrubbing spreads the ink sideways and pushes it deeper into the paint. Blotting lifts the ink upward and out. Use a clean white cloth or plain paper towel so you can see how much ink is transferring.
Rubbing Alcohol: The Most Reliable First Choice
For most ink types — ballpoint, felt-tip, and many permanent markers — rubbing alcohol (isopropyl alcohol) is the most effective starting point. Ink that is alcohol-based dissolves readily when fresh alcohol is applied. Even oil-based inks respond well because the alcohol disrupts the bond between the dye and the paint surface.
To use it properly, dampen a clean white cloth or a cotton ball with rubbing alcohol. Do not pour the alcohol directly onto the wall. Press the cloth gently onto the stain and hold it there for about ten seconds. This gives the alcohol time to begin dissolving the ink rather than just pushing it around. Then blot upward with light pressure. Rotate to a clean section of cloth and repeat.
You will usually see ink transferring to the cloth fairly quickly. Keep working with fresh sections of cloth until no more ink comes up. Finish by wiping the area with a barely damp cloth to remove any alcohol residue, then let it dry completely.
Rubbing alcohol works best on fresh stains and on semi-gloss or satin-painted walls. On flat or matte paint, use it sparingly and with very light pressure, as alcohol can dull or lighten certain flat paints with repeated rubbing.
Dish Soap and Warm Water: The Gentle Starting Point
If the ink stain is minor — a light pen mark, a small smudge — it is worth trying plain dish soap and warm water first before moving to anything stronger. This is particularly wise on flat-painted walls or wallpaper where alcohol might cause more harm than good.
Mix a few drops of dish soap into a bowl of warm water until it is slightly sudsy. Dip the corner of a clean cloth into the solution, wring it out well so it is damp but not dripping, and gently press it onto the stain. Work from the outer edge of the mark inward to avoid spreading it. Blot, do not rub.
Dish soap works by surrounding and lifting oily particles. Since many ink carriers are oil-based or waxy, the soap can emulsify them and allow them to be lifted away. It will not remove a deep or set ink stain, but it can meaningfully reduce a fresh or light one, and it is gentle enough not to damage the surface underneath.
Rinse the area with a cloth dampened with plain water after cleaning, and let the wall dry fully before judging the result.
Baking Soda Paste: For Stubborn Marks on Durable Surfaces
Baking soda is a mild abrasive. On its own it does very little to dissolve ink, but its gentle scrubbing action can help lift ink that has settled into the slightly rough surface of painted walls, particularly semi-gloss and eggshell finishes.
To use it, mix a small amount of baking soda with just enough water to form a thick paste — about the consistency of toothpaste. Apply a small amount to a damp cloth, not directly to the wall. Then rub the paste very gently onto the stain using small circular motions with almost no pressure. The goal is light mechanical action, not force.
After a minute or two of gentle work, wipe the paste away with a clean damp cloth. Check the stain. Repeat once more if needed, but avoid going beyond two or three applications in the same session, as even mild abrasion can dull paint over time.
This method is not suitable for wallpaper, delicate flat paints, or surfaces that show wear easily. It works best on harder, more durable finishes where the ink has not penetrated deeply.
Hairspray: An Old Household Standby Worth Understanding
Hairspray has long been recommended for ink removal, and it does work — though not quite for the reasons people often think. Older hairsprays contained a high percentage of alcohol, which was the actual active ingredient doing the cleaning work. Modern hairsprays contain far less alcohol and more conditioning agents, which means they are less effective for this purpose than they once were.
If you have an older can of firm-hold hairspray with a high alcohol content in the ingredient list, it can work similarly to rubbing alcohol. Spray a small amount onto a cloth — not directly onto the wall — then blot the stain in the same way described earlier.
However, hairspray also leaves a sticky residue behind. If you use it, you must follow up by wiping the wall with a damp cloth to remove that residue. If you do not, the residue will attract dust and leave a dull, grimy patch that shows up over time. This follow-up step is often skipped and is the reason hairspray sometimes seems to make walls look worse in the long run.
White Toothpaste: A Useful Option for Small Marks
Plain white toothpaste — not gel, not whitening formulas — contains a mild abrasive similar in nature to baking soda. It can be useful for small, isolated ink marks on painted walls, particularly when you want something slightly more targeted than a paste you mix yourself.
Apply a very small amount directly to the stain using your fingertip or a clean cloth. Rub gently in a small circular motion for thirty seconds to a minute. Then wipe clean with a damp cloth. The mild abrasive action combined with the cleaning agents in the toothpaste can lift light to moderate ink marks without much risk to the surface.
Like baking soda, toothpaste is not appropriate for wallpaper or delicate finishes. It is best for painted surfaces that are in good condition.
When the Stain Is Old or Has Already Set
A fresh ink stain and a week-old ink stain are genuinely different problems. Once ink has fully dried and the dye has had time to bond deeply with the paint surface, the same methods still apply but require more patience and realistic expectations.
Start with rubbing alcohol and allow it to sit on the stain for longer — fifteen to twenty seconds — before blotting. You may need to repeat the process five or ten times, lifting a little ink each time rather than all at once. Accept that multiple sessions over a few days may be more effective than one intense effort.
If a stain simply will not lift after repeated effort, a small touch-up with matching paint is often the most practical and clean-looking solution. Keep leftover paint from when the walls were last painted, stored properly in a sealed container, precisely for situations like this. A small foam roller or brush applied to a clean, dry wall will blend far better than a wall that has been over-scrubbed and left with a dull, damaged patch.
Handling Ink on Wallpaper
Wallpaper requires a cautious approach because the surface is far less forgiving than paint. Rubbing or applying too much liquid can cause the paper to bubble, tear, or stain permanently from the moisture itself.
For vinyl-coated wallpaper, a lightly dampened cloth with a small amount of dish soap is usually the safest starting point. Blot very gently. Avoid any scrubbing motion. For minor marks, a barely damp cloth on its own may lift enough ink to make the mark unnoticeable.
For plain or unpasted wallpaper, the options are much more limited. A dry method — using a white art eraser applied extremely gently — can sometimes lift surface ink without introducing moisture. Work slowly and check frequently. If moisture is necessary, use the very minimum possible, applied on a cloth rather than sprayed or poured.
If the ink has soaked deeply into plain wallpaper, honest assessment matters. Aggressive cleaning will damage the paper more visibly than the stain itself. In those cases, a wallpaper patch from leftover rolls, carefully aligned to the pattern, may be the best available solution.
A Practical Note on Different Types of Ink
Not all ink behaves the same way, and knowing what you are dealing with shapes which method to reach for first.
- Ballpoint pen ink is oil-based and responds well to rubbing alcohol or dish soap. It tends not to penetrate as deeply as water-based inks.
- Felt-tip and washable marker ink is usually water-based. It can sometimes be lifted with plain damp cloth alone if caught early. Rubbing alcohol still works but may not be necessary.
- Permanent marker ink is alcohol-based and bonds quickly. Rubbing alcohol is the most effective option. Expect to work more slowly and carefully, especially on flat paints.
- Printer or copier ink is less common on walls but can transfer from hands. It tends to be water-based and responds to dish soap and water when fresh.
When in doubt, start with the gentlest method available and work up gradually. A stain treated gently and incompletely can often be revisited. A surface damaged by an overly aggressive first attempt is much harder to recover.
Related articles
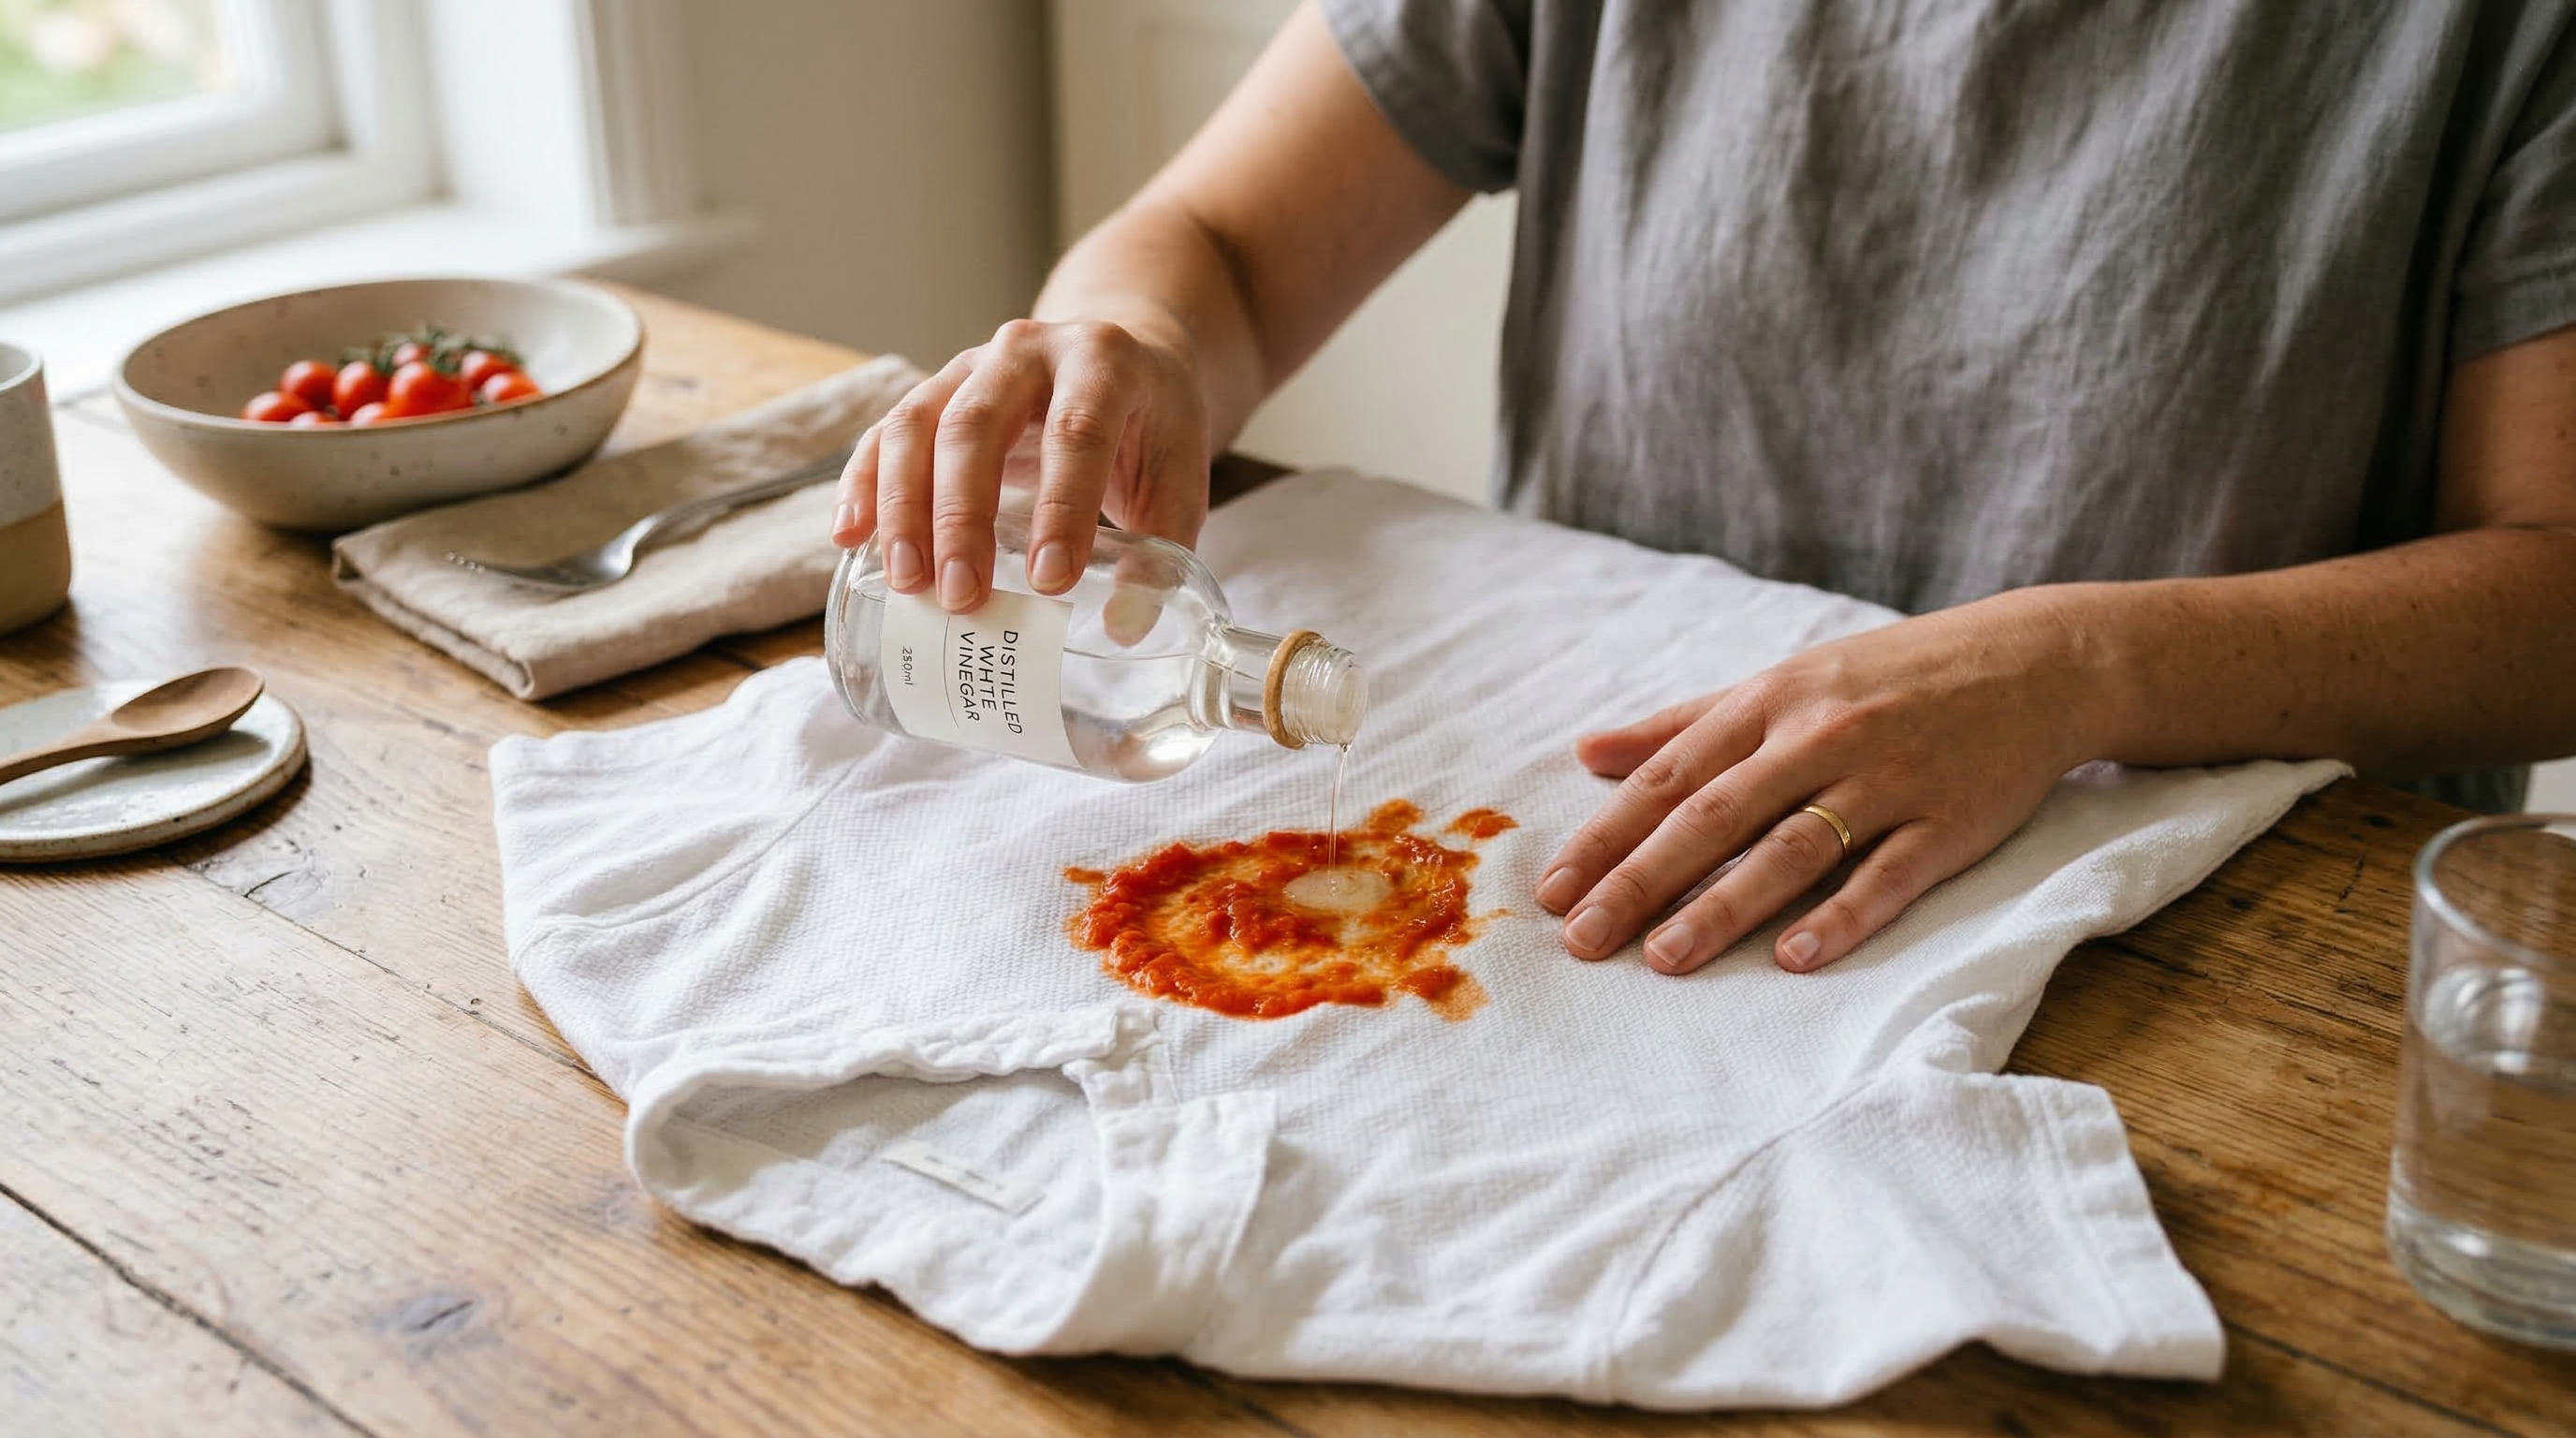
Grandma Knows: How to Remove Tomato Sauce from Clothing
Tomato sauce stains are vivid and quick to set. Learn the right sequence of treatments to remove tomato stains from clothing before they become permanent.
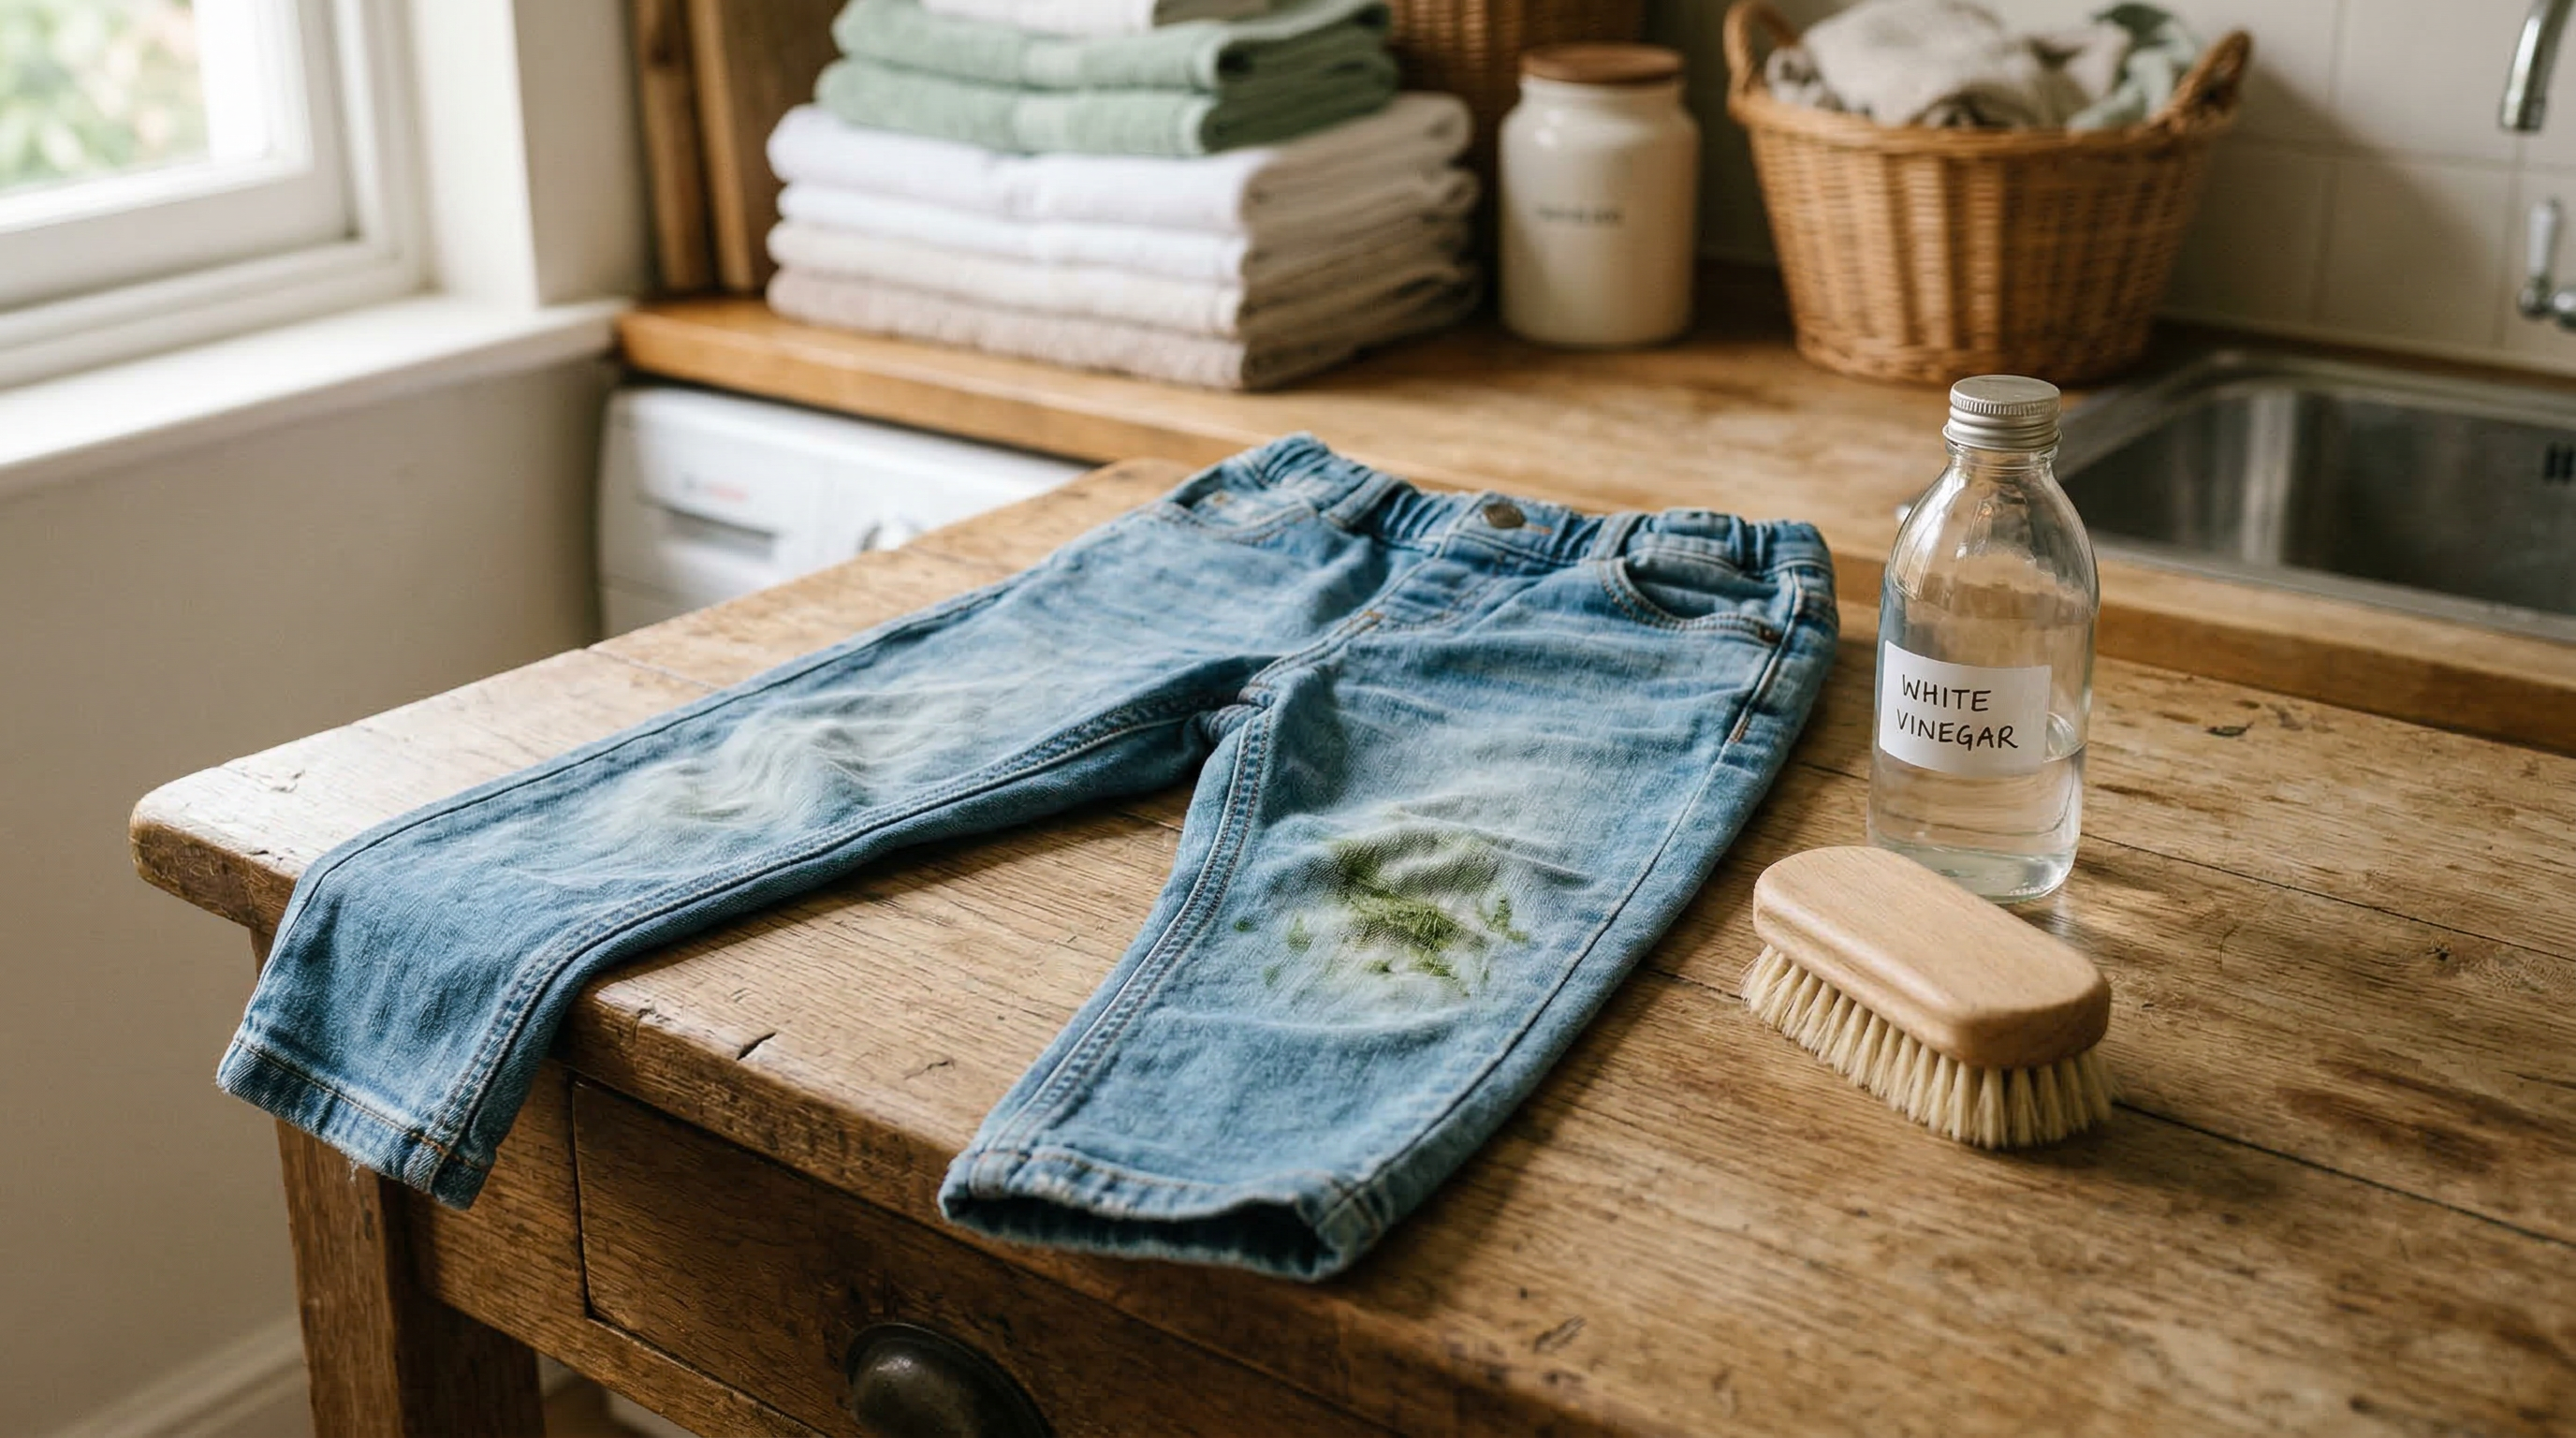
Grandma Knows: How to Remove Grass Stains from Clothes
Grass stains on clothes are stubborn but very treatable. Learn the household methods that break down chlorophyll and get fabric clean again.
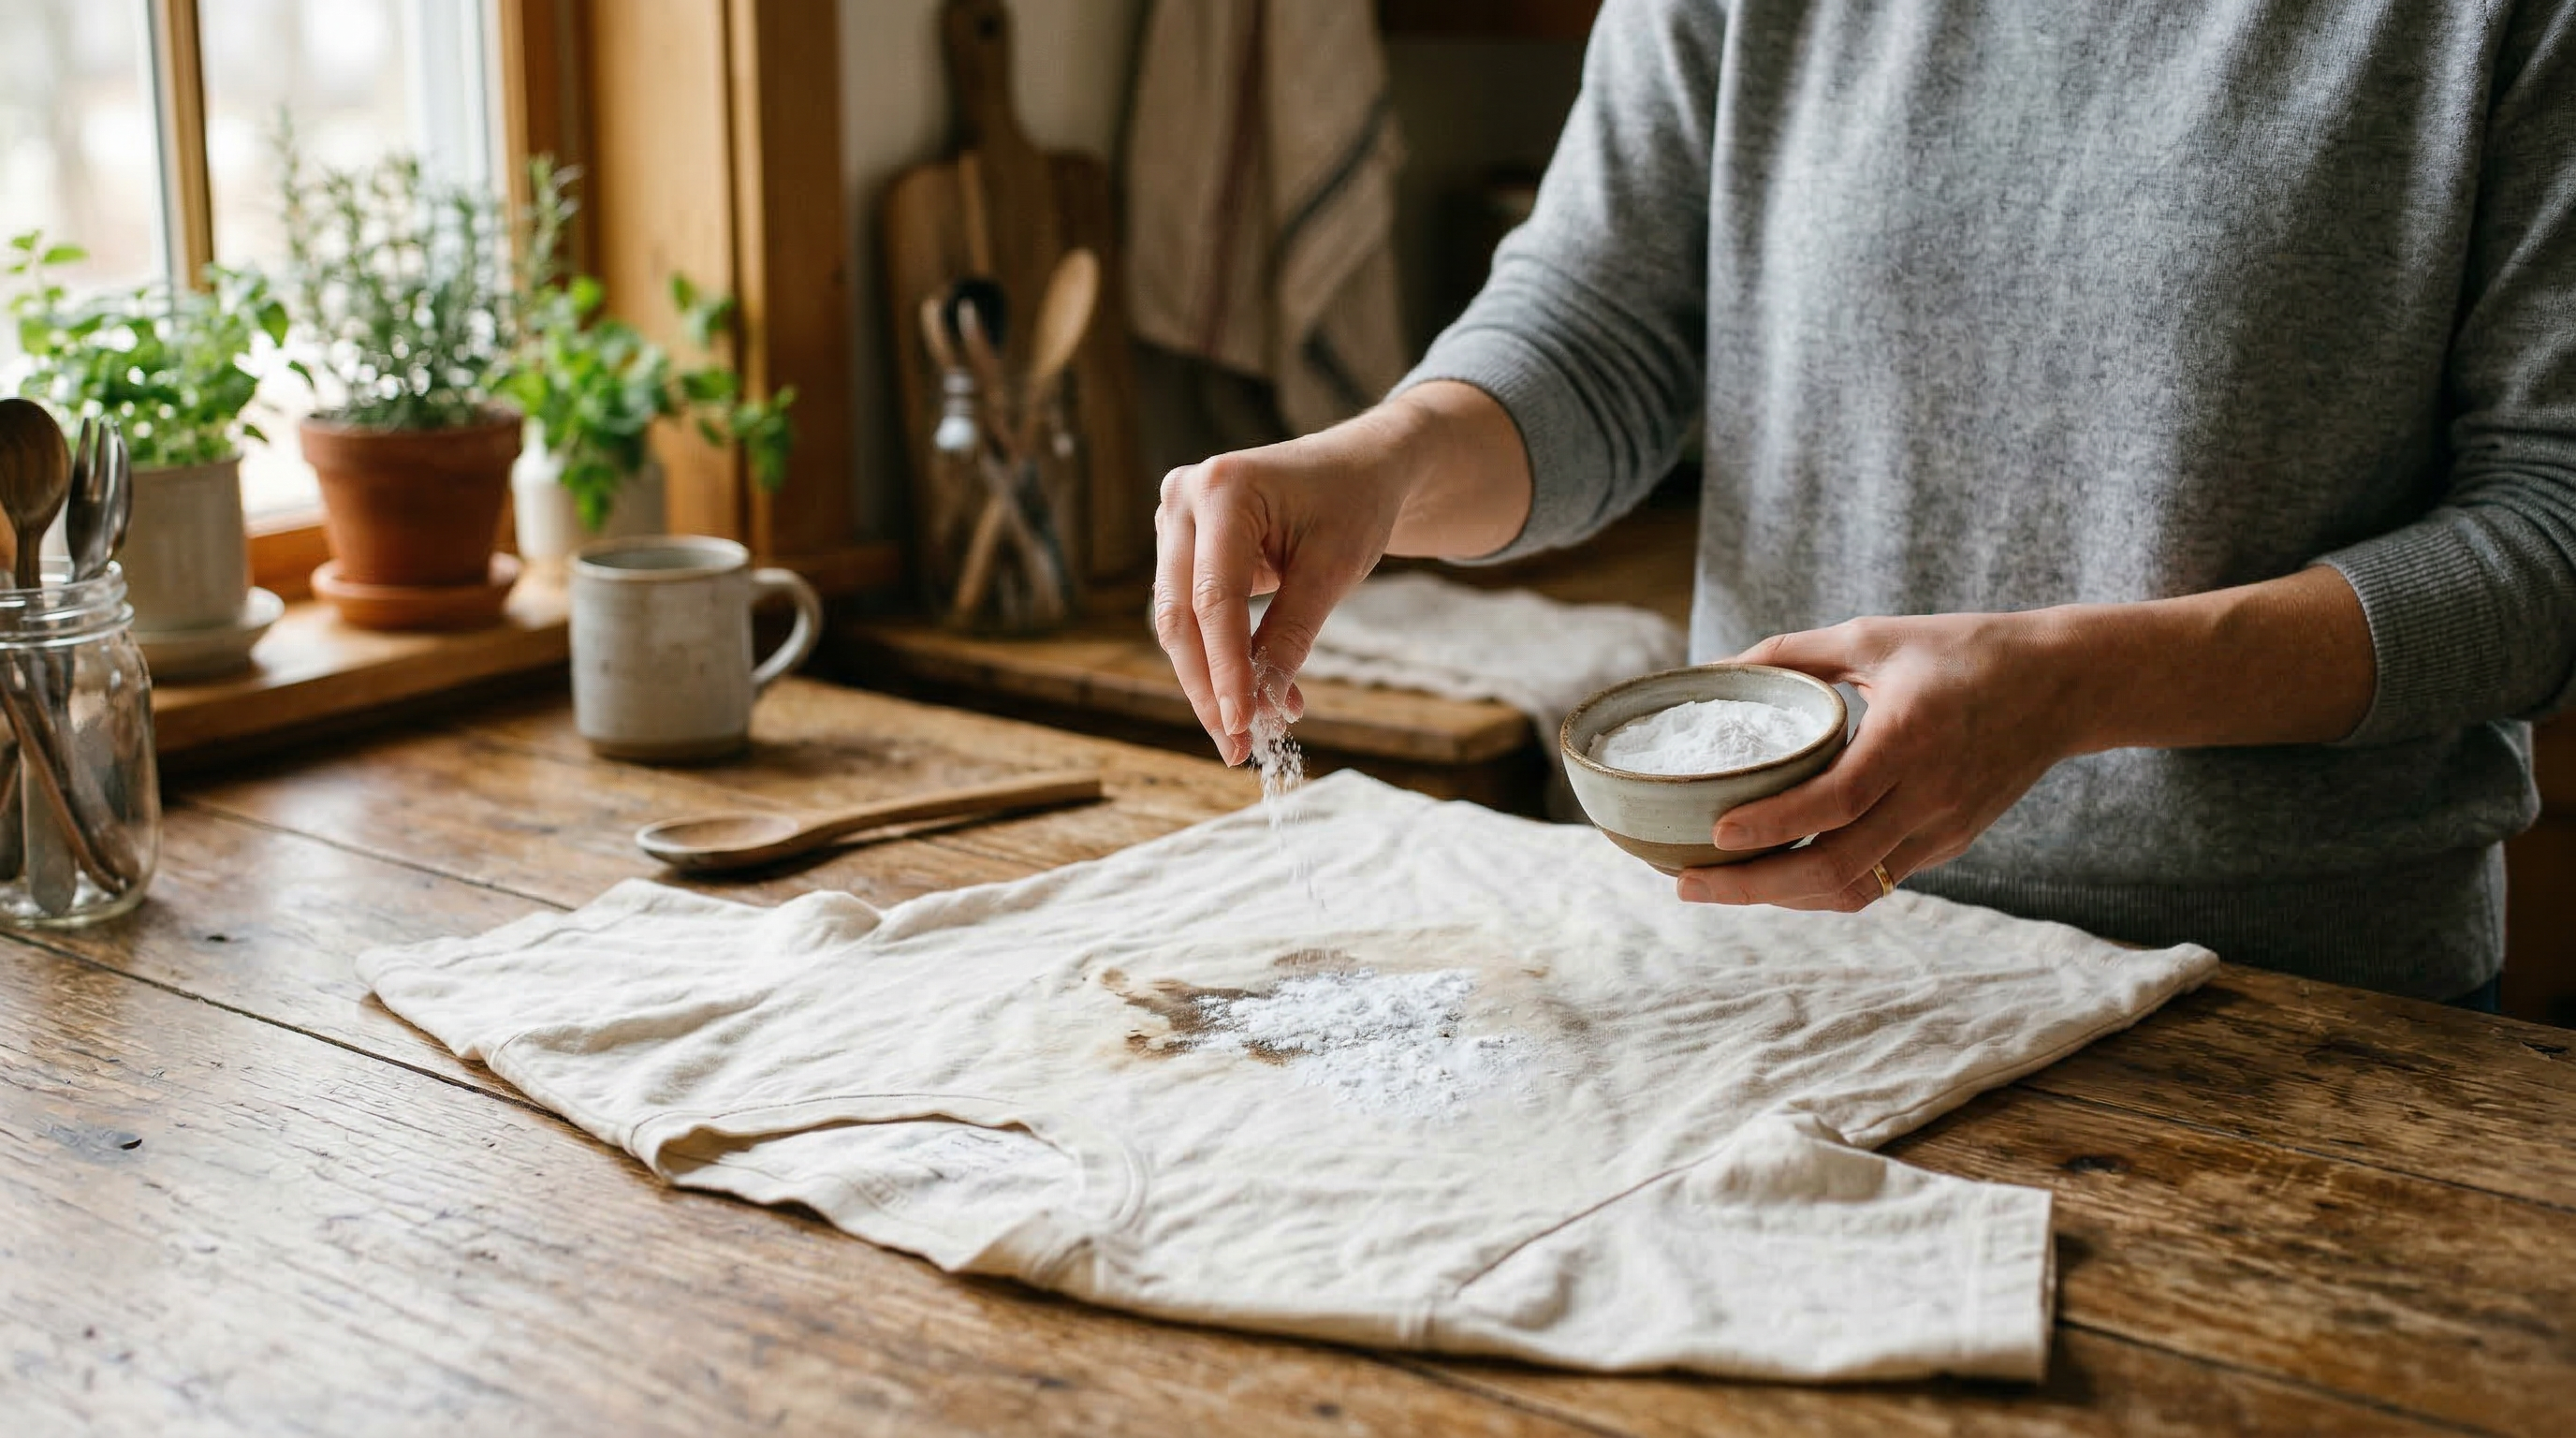
Grandma Knows: How to Remove Grease from Clothes
Grease stains on clothes are tricky but not impossible. Discover proven household methods using baking soda, dish soap, and patience.